Pushing 17.5 FPS from an ESP32-CAM and GC9A01 round display

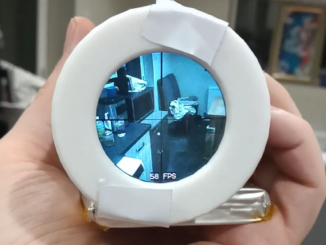
This is a follow up to a previous page on how to get the ESP32-CAM and round GC9A01 TFT display to work. This revision lowers the frame time from 77ms to 57ms, thus increasing the frame rate to 17.5 FPS.

As always, in the interests of openness and honesty: these changes were suggested by u/the_3d6 on Reddit.

As the frame size of the camera and the display are both 240×240, it is possible to cast a pointer when creating the sprite then, effectively point both pointers at each other and let it rip. (As you can tell, I don’t understand pointers much…).

There is no change to the User_Setup.h file which you can find over at the original page.

The revised code is as follows, it looks mostly the same, and that’s because it is. 72% of the sketch code is just setting up the camera:

#include "esp_camera.h"
#include <TFT_eSPI.h> // Hardware-specific library
#include <SPI.h>

#define CAMERA_MODEL_AI_THINKER
#define PWDN_GPIO_NUM     32
#define RESET_GPIO_NUM    -1
#define XCLK_GPIO_NUM      0
#define SIOD_GPIO_NUM     26
#define SIOC_GPIO_NUM     27
#define Y9_GPIO_NUM       35
#define Y8_GPIO_NUM       34
#define Y7_GPIO_NUM       39
#define Y6_GPIO_NUM       36
#define Y5_GPIO_NUM       21
#define Y4_GPIO_NUM       19
#define Y3_GPIO_NUM       18
#define Y2_GPIO_NUM        5
#define VSYNC_GPIO_NUM    25
#define HREF_GPIO_NUM     23
#define PCLK_GPIO_NUM     22

TFT_eSPI tft = TFT_eSPI();       // Invoke custom library
TFT_eSprite spr = TFT_eSprite(&tft);

camera_config_t config;

uint16_t *scr;

//////////////////////////////////////////////////////////
void setup() {

  Serial.begin(115200);

  tft.init();
  tft.setRotation(0);
  tft.fillScreen(TFT_BLACK);
  scr = (uint16_t*)spr.createSprite(240, 240);

  config.ledc_channel = LEDC_CHANNEL_0;
  config.ledc_timer = LEDC_TIMER_0;
  config.pin_d0 = Y2_GPIO_NUM;
  config.pin_d1 = Y3_GPIO_NUM;
  config.pin_d2 = Y4_GPIO_NUM;
  config.pin_d3 = Y5_GPIO_NUM;
  config.pin_d4 = Y6_GPIO_NUM;
  config.pin_d5 = Y7_GPIO_NUM;
  config.pin_d6 = Y8_GPIO_NUM;
  config.pin_d7 = Y9_GPIO_NUM;
  config.pin_xclk = XCLK_GPIO_NUM;
  config.pin_pclk = PCLK_GPIO_NUM;
  config.pin_vsync = VSYNC_GPIO_NUM;
  config.pin_href = HREF_GPIO_NUM;
  config.pin_sscb_sda = SIOD_GPIO_NUM;
  config.pin_sscb_scl = SIOC_GPIO_NUM;
  config.pin_pwdn = PWDN_GPIO_NUM;
  config.pin_reset = RESET_GPIO_NUM;
  config.xclk_freq_hz = 20000000;
  config.frame_size = FRAMESIZE_240X240;
  config.pixel_format = PIXFORMAT_RGB565; 
  config.grab_mode = CAMERA_GRAB_WHEN_EMPTY;
  config.fb_location = CAMERA_FB_IN_PSRAM;
  config.jpeg_quality = 12;
  config.fb_count = 1;

  esp_err_t err = esp_camera_init(&config);

  sensor_t * s = esp_camera_sensor_get();
  s->set_brightness(s, 0);     // -2 to 2
  s->set_contrast(s, 0);       // -2 to 2
  s->set_saturation(s, 0);     // -2 to 2
  s->set_special_effect(s, 0); // 0 to 6 (0 - No Effect, 1 - Negative, 2 - Grayscale, 3 - Red Tint, 4 - Green Tint, 5 - Blue Tint, 6 - Sepia)
  s->set_whitebal(s, 1);       // 0 = disable , 1 = enable
  s->set_awb_gain(s, 1);       // 0 = disable , 1 = enable
  s->set_wb_mode(s, 0);        // 0 to 4 - if awb_gain enabled (0 - Auto, 1 - Sunny, 2 - Cloudy, 3 - Office, 4 - Home)
  s->set_exposure_ctrl(s, 1);  // 0 = disable , 1 = enable
  s->set_aec2(s, 0);           // 0 = disable , 1 = enable
  s->set_ae_level(s, 0);       // -2 to 2
  s->set_aec_value(s, 300);    // 0 to 1200
  s->set_gain_ctrl(s, 1);      // 0 = disable , 1 = enable
  s->set_agc_gain(s, 0);       // 0 to 30
  s->set_gainceiling(s, (gainceiling_t)0);  // 0 to 6
  s->set_bpc(s, 0);            // 0 = disable , 1 = enable
  s->set_wpc(s, 1);            // 0 = disable , 1 = enable
  s->set_raw_gma(s, 1);        // 0 = disable , 1 = enable
  s->set_lenc(s, 1);           // 0 = disable , 1 = enable
  s->set_hmirror(s, 0);        // 0 = disable , 1 = enable
  s->set_vflip(s, 0);          // 0 = disable , 1 = enable
  s->set_dcw(s, 1);            // 0 = disable , 1 = enable
  s->set_colorbar(s, 0);       // 0 = disable , 1 = enable

  tft.setTextColor(TFT_WHITE);
  tft.drawString("Loading...", 105, 105, 2);
  delay(1000);

}
//////////////////////////////////
void loop() {

  //take picture
  camera_fb_t  * fb = NULL;
  fb = esp_camera_fb_get();
  unsigned long initalTime = millis();

  for (size_t i = 0; i < 57600; i++) {    //240x240px = 57600
    //create 16 bit colour from two bytes. 
    byte first_byte = fb->buf[i * 2];
    byte second_byte = fb->buf[i * 2 + 1];
    scr[i] = (second_byte << 8) + first_byte;   
  }

  spr.pushSprite(0,0);
  unsigned long frameTime = millis() - initalTime;
  Serial.print("Frame time(ms) = "); Serial.println(frameTime);
  esp_camera_fb_return(fb);   //return the frame buffer back to the driver for reuse

}

Rendering 3D Graphics Using an Arduino Nano.

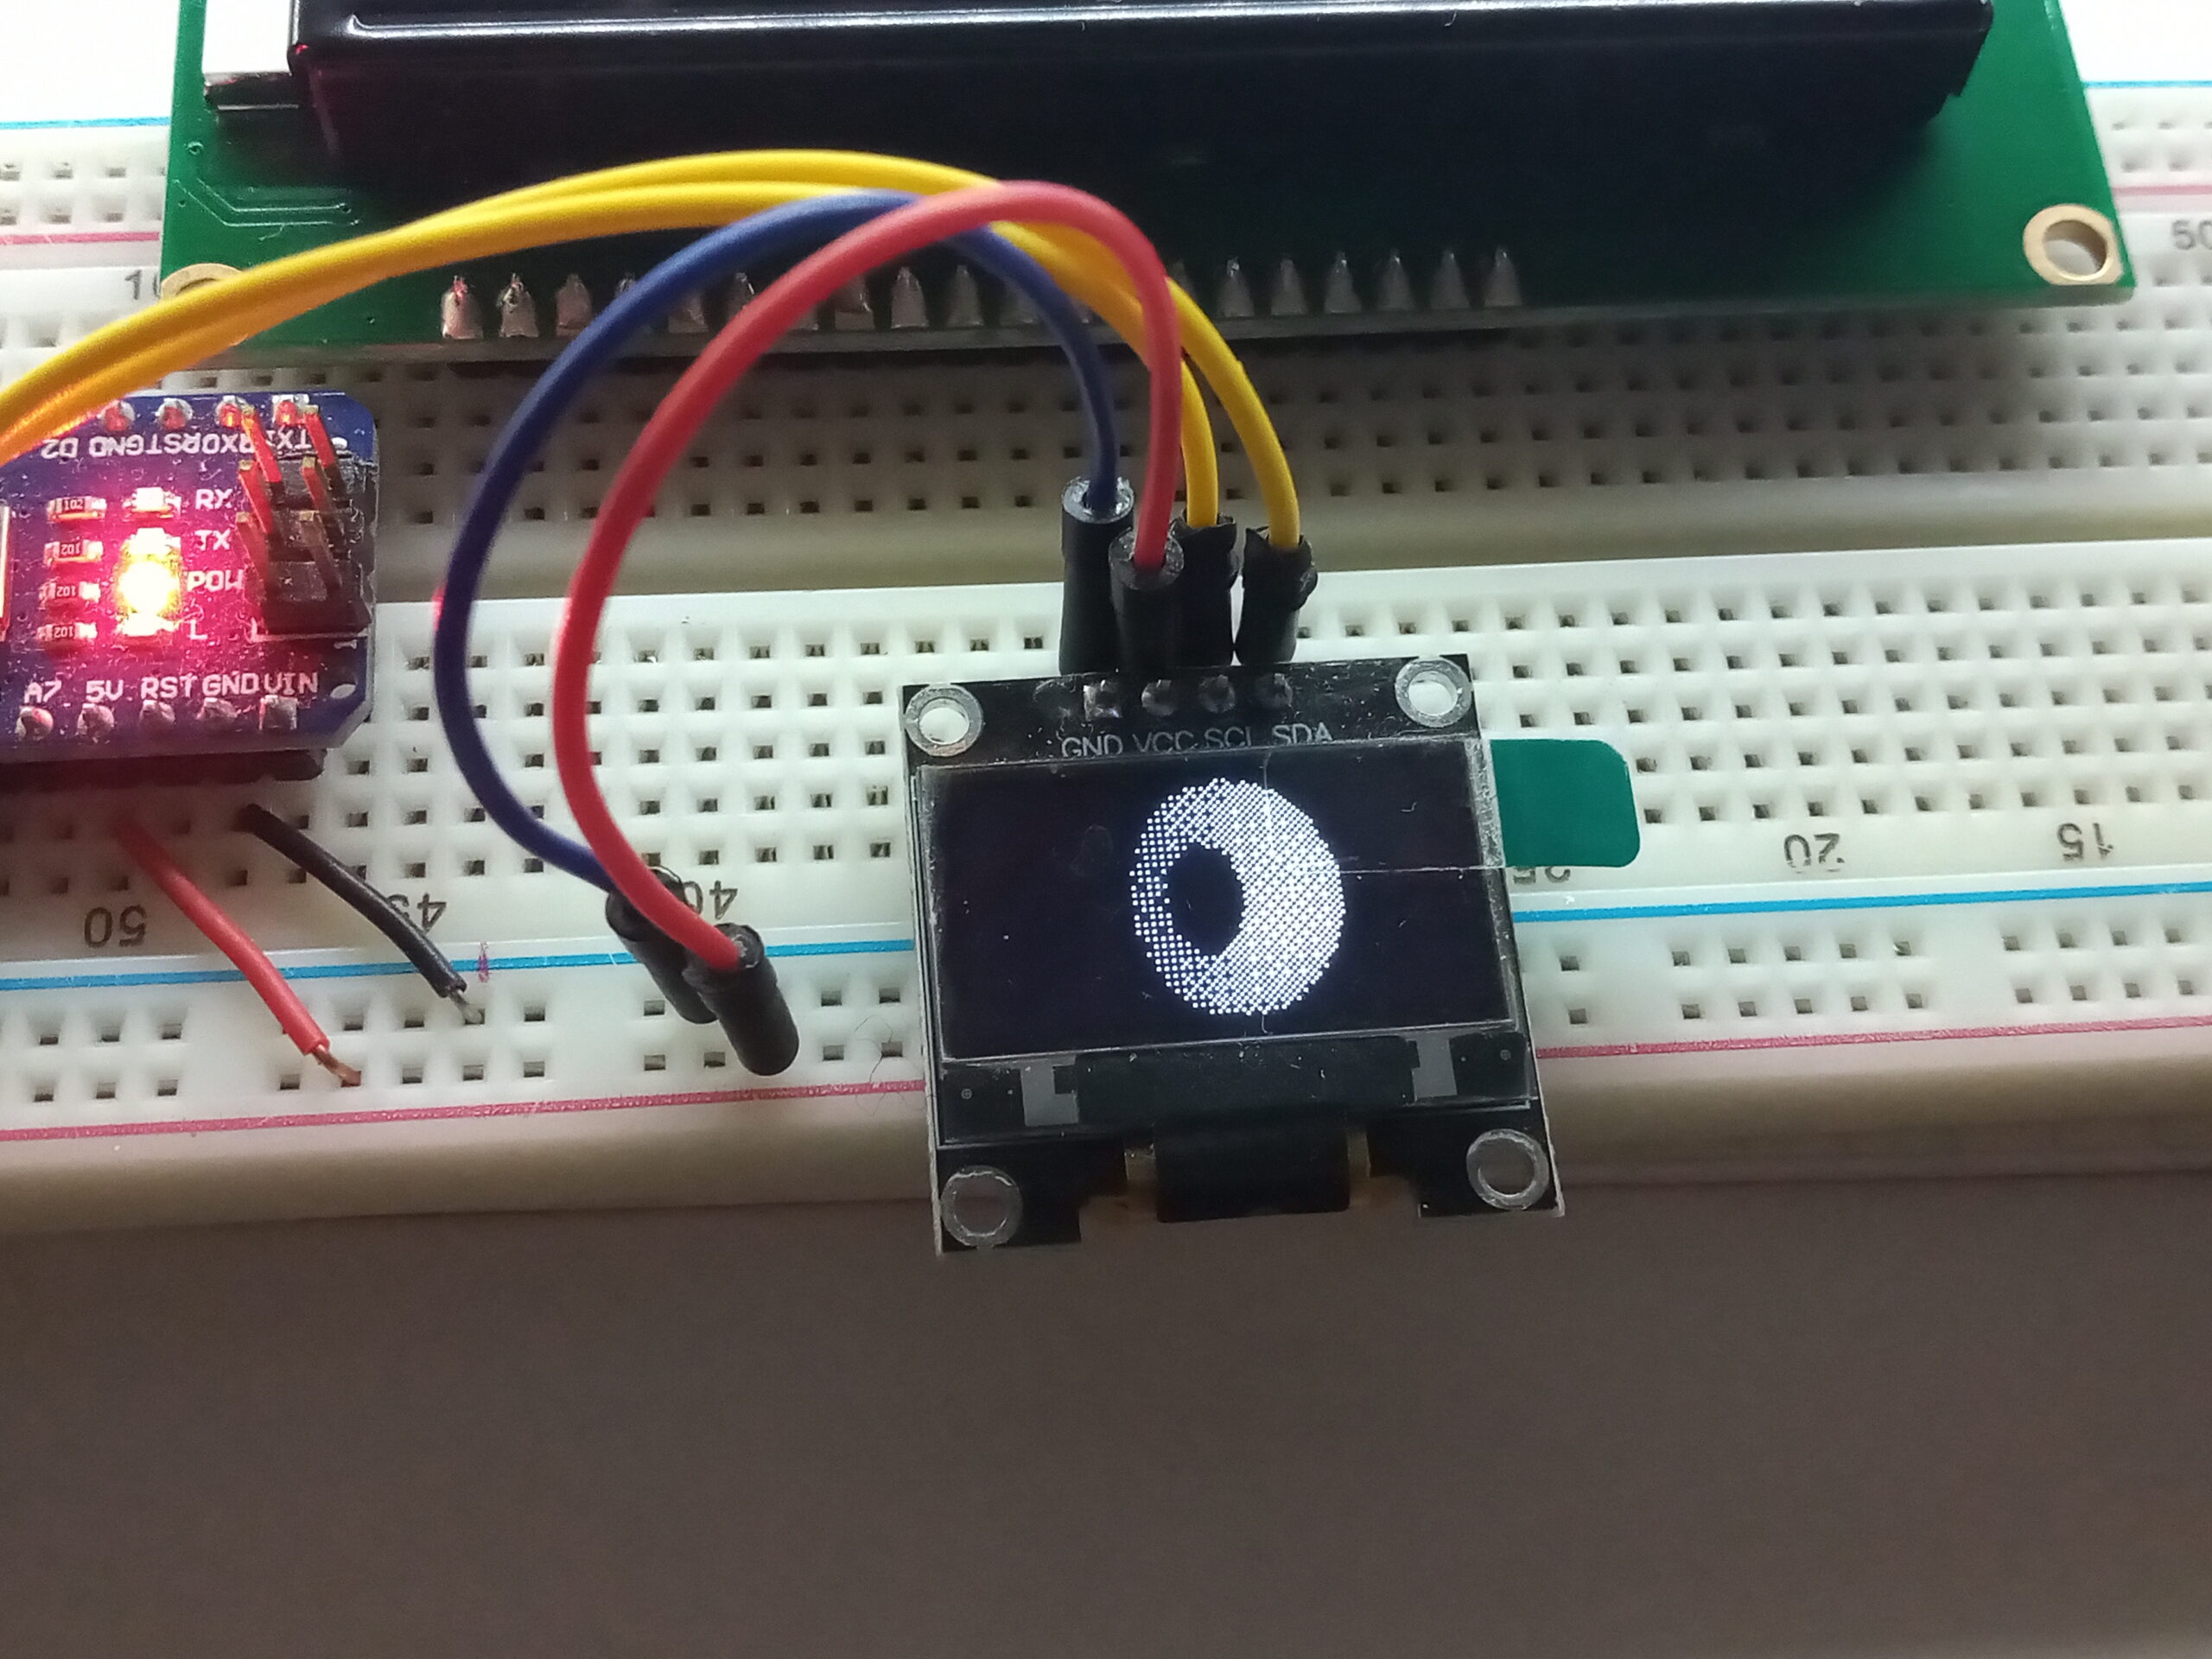
This started as the result of misreading the title of a Reddit post by u/Trotztd and lead to rendering 3D graphics on an Arduino.

The title of the post was “Raymarching on Arduino Uno OLED 128×64 with dithering. 15 seconds per frame.” which I erroneously read as 15 frames per second.

I had been previously looking at raytracing in the hope of inspiration of making a simple 3D game. I also happened to have a SSD1306 OLED display running (alongside a ST7920 LCD), so thought I would give it a try.

To be honest, I only realised that I had misread the title of the post when the display didn’t show anything for 15 seconds and froze for 17-20 seconds after each frame.

I also noticed that the Arduino outputted the time taken between frames to the serial monitor, so I captured some data, slapped it in excel and created an x-y scatter plot.

Please excuse the erroneous title on the graph; the unit of measurement on the Y-axis is milliseconds (ms), not seconds (s).

Interestingly, the graph produced a sinusoidal wave that was in phase with the rotation of the torus on the display.

In a comment reply from u/Trotztd , they suggested using an ESP32 for a faster experience. So, I pulled out a 38 Pin ESP32 DEV Kit, wiggled the wires in to place and uploaded the code.

With the added computational power, the refresh rate increased from 0.05Hz to 4.6Hz. That’s a 9200% improvement.

The blistering 4.6Hz display can be seen in this video.

Again, the time taken to render each frame varied in phase with the rotation of the torus; albeit a lot faster.

I did consider the time taken by the display driver chip may be the cause of the rhythmic timing as it will take longer to address a greater number of pixels (or vice versa) so I played around with the code.

In the first instance I commented out the outputMatrix( ); function call; however, this buggered the program and the serial monitor just spat out a random list of 0’s and 1’s.

The second attempt to disable the display was to comment out the ssd1306_lcd.next_page(); command within the outputMatrix( ); function. However, this appeared to change absolutely nothing. So my theory remains nothing more than a theory.