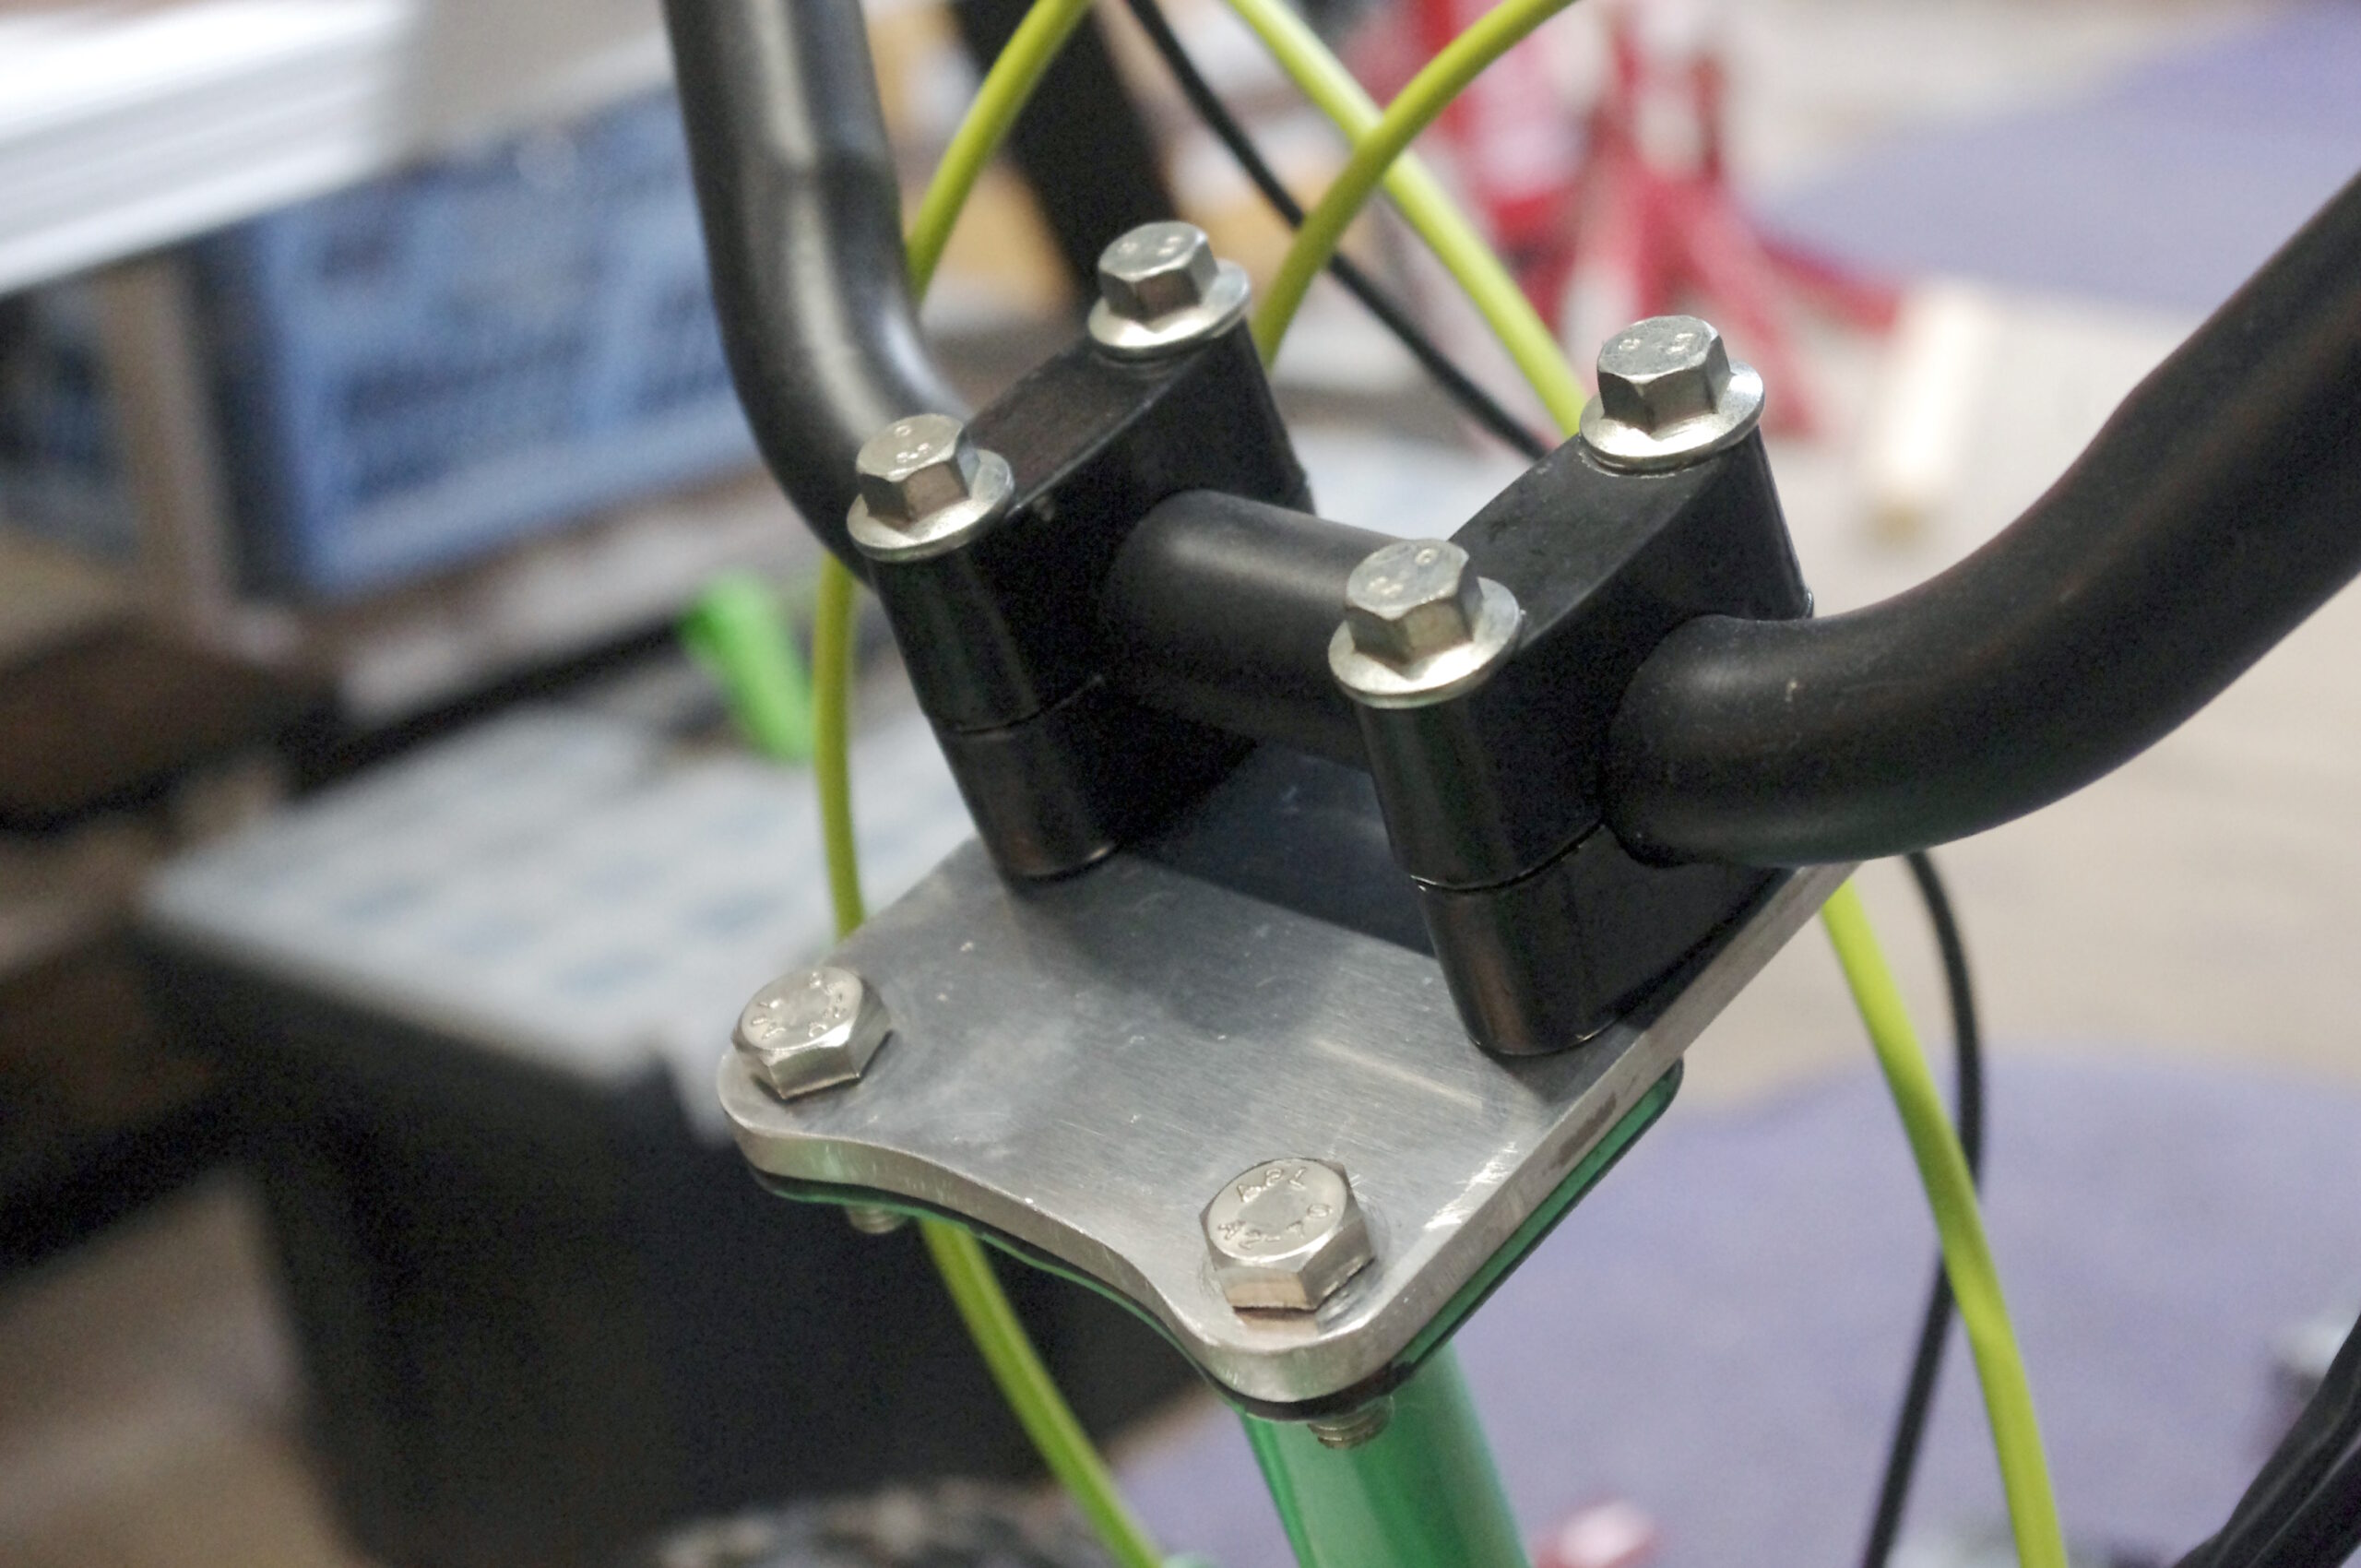
Electric Quad: Steering Bracket

After test riding the quad, it became obvious that this quad bike was made for children and I am an adult.

One of the main issues with this is that the handlebars hit your knees when trying to turn.

To mitigate this issue, a bracket was fabricated from 5mm aluminium plate to extend the handlebars forward.

The design was kept as simple as possible – the measurement of the extension was the same measurement as the distance between the original bolt holes.

Fabrication was also kept as simple as possible. First a carboard template was tested for fit and it’s shape transferred to aluminium plate.

The main shape was rough cut with a jigsaw fitted with these blades specifically used for aluminium.

The fixing holes were then drilled and the top two fixings were tapped out to suit an M8 thread.

From there; the final shape was formed with a set of files and some good old elbow grease. To give a nice ‘brushed’ look; the edge was sanded down with some P180 grit sand paper.

The extension plate also provides a good mounting location for potential future lights.

Electric Quad Update

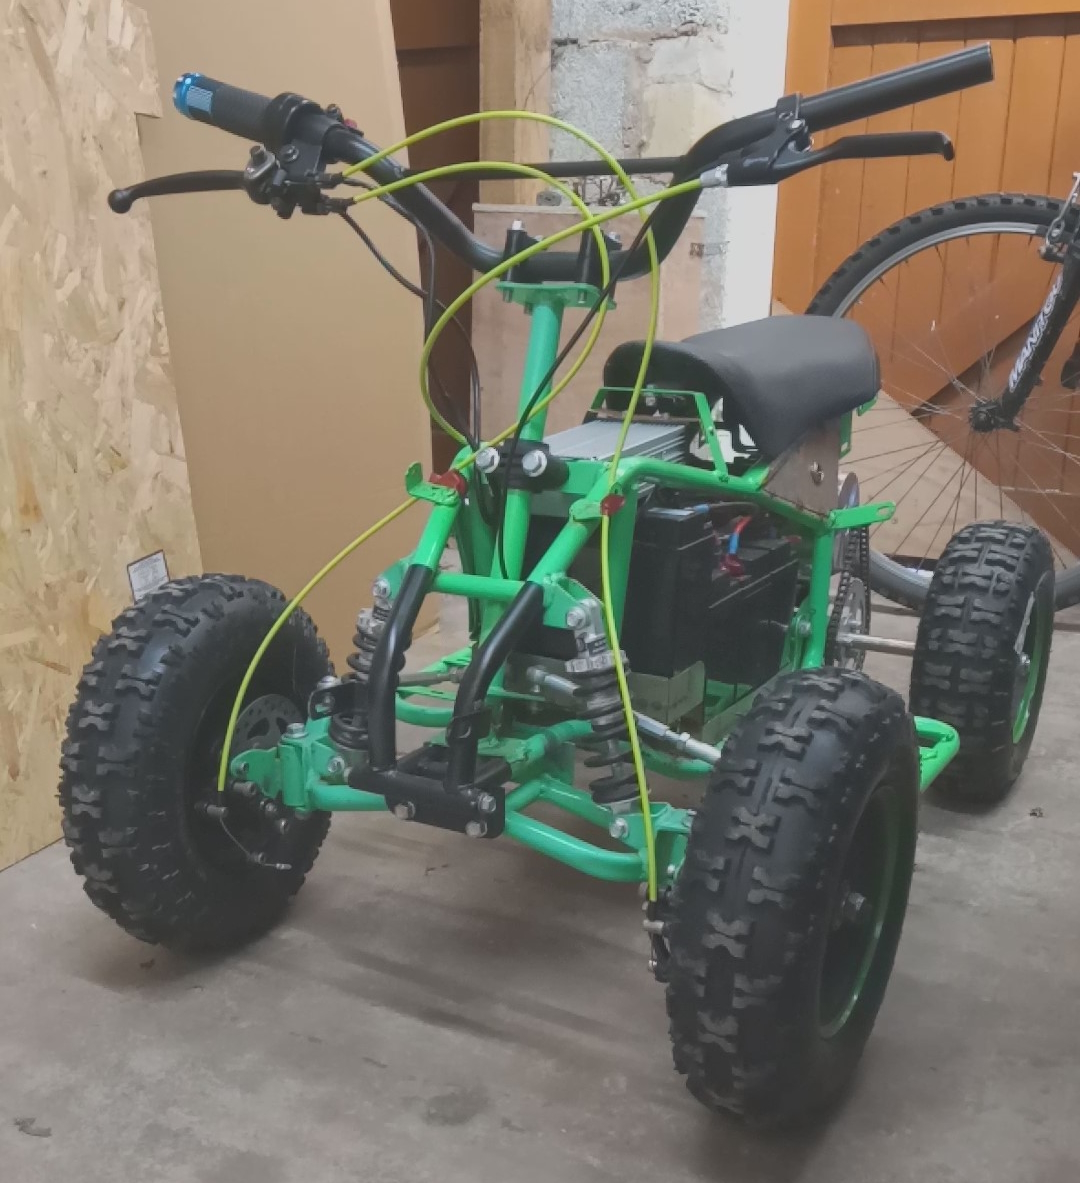
After a fair amount of time in various states of disrepair, the quad has finally been reassembled and taken for a test ride.

Check out the video below.

A blistering top speed of 19 mph was recorded (30 km/h).

I think this could be beaten

Rust Removal

Iron (III) Oxide. Great for making thermite, crap for structural/mechanical systems. Thankfully there are rust removers available that will rid you of this troublesome oxide.

Rusted brake disc before treatment
Brake disc after treatment

In this instance, ‘HG rust remover’ was used. After a bit of research, it seems that anything with phosphoric acid works well as a rust remover.

Acetic acid (vinegar) will also work, however, it’s not as effective. Avoid stronger acids such as hydrochloric acid as this will damage the metal.

Other tools you’ll need are:

  • A plastic or glass container large to soak the rusted items.
  • A measuring jug or other graduated container.
  • A second vessel to hold water to form a wash station.
  • Brass wire brush.
  • Rubber/latex gloves (VERY IMPORTANT)

Simply follow the instructions on the container; in this case – form a 1:5 dilution of the rust remover with water. Then submerge the rusted items, wait an undetermined amount of time (about 6 hours in this instance) and watch the bubbles form.

Items first placed in the rust remover solution and separated with plastic spacers.
The solution will dissolve the rust and turn a reddish-brown colour.

Once the solution has done the job, remove the item, wash it with clean water while scrubbing the loose rust off with the brass brush. A second treatment might be required for more stubborn and deeper patches of corrosion.

Upon completion, dry the item and treat the surface with WD40 to prevent rust from reforming!

Tips on Stripping Paint Off Metal

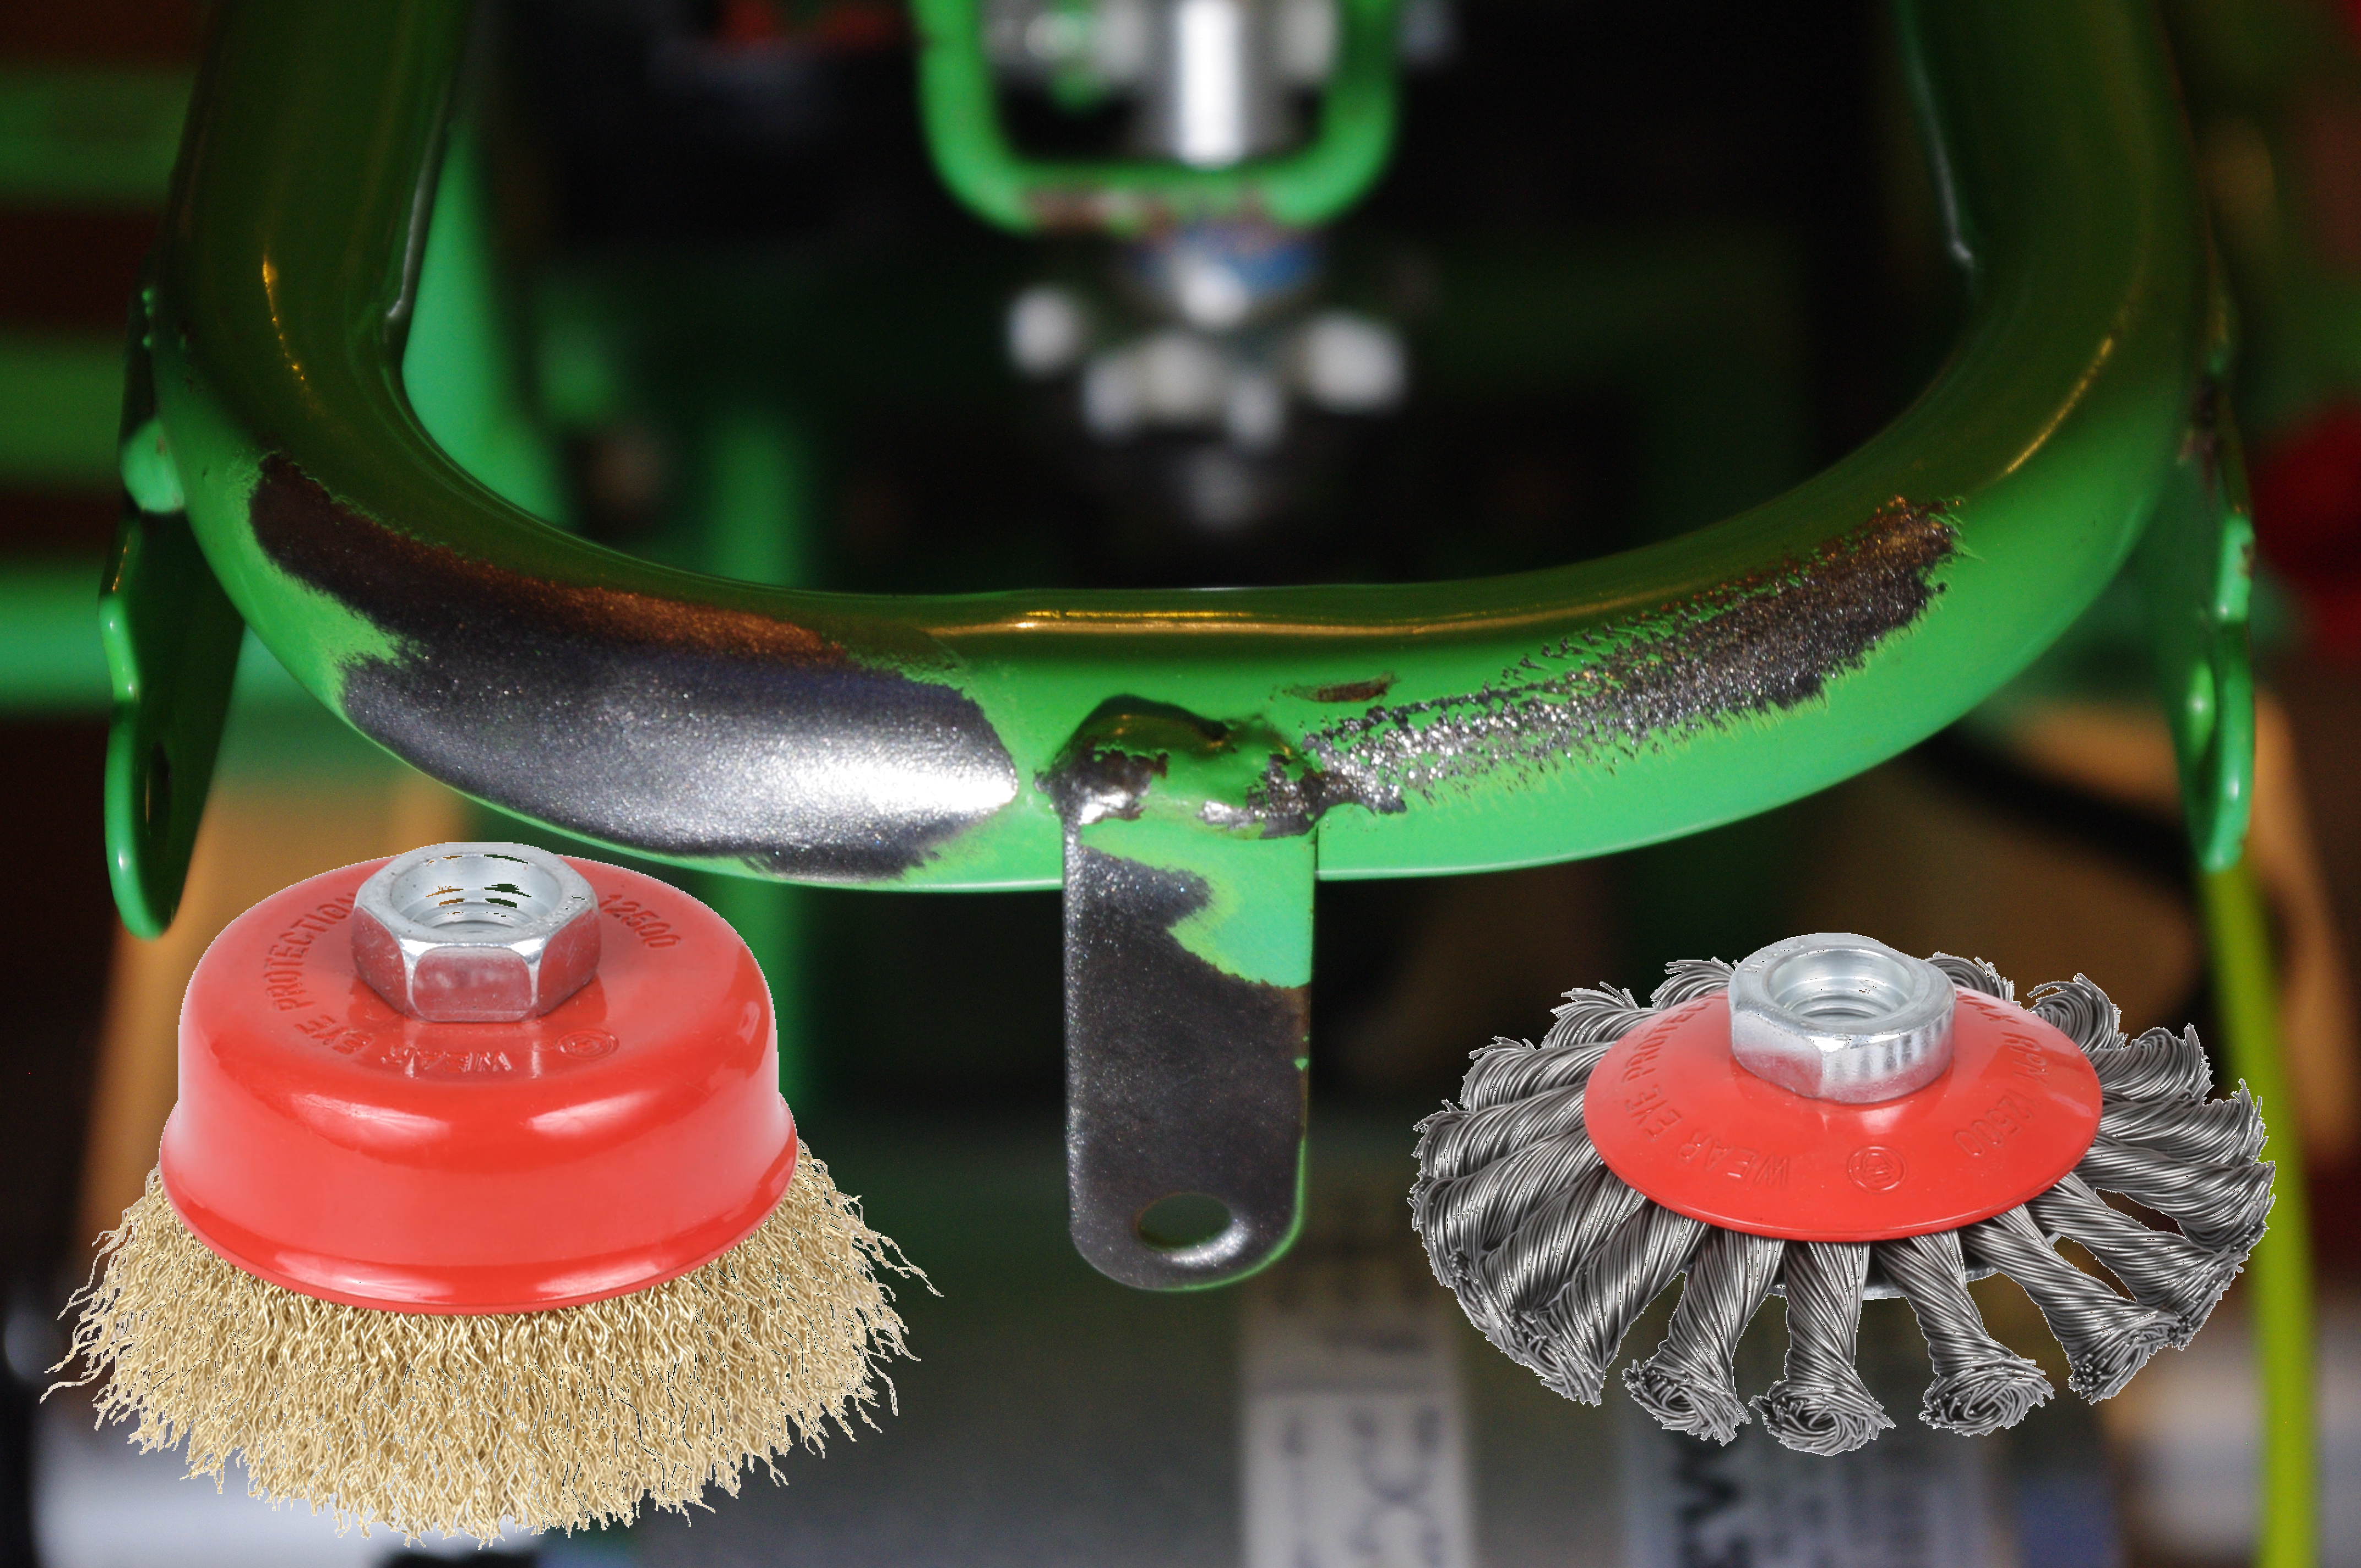
When it comes to removing paint from metal there are many options involving heat, chemicals and abrasives.

As part of the quad project, I hope to strip back the existing paint (and rust) and respray it with a new colour.

Due to the size and shape of the frame, the chemical route was not viable and burning the paint off required an investment in to new tools with no guarantee of success.

Therefore the abrasive route was chosen. But what abrasive to use? Wire cups, flap wheels, sanding belts?! So much choice; so little budget.

Below is a photo of the different effects you get when you use an angle grinder with a steel wire wheel (right) compared with a brass wire cup (left).

The twisted steel wire wheel is very aggressive and gouged the steel tubing below. The brass wire cup was much softer on the base metal, only removing the paint.

Link for the brass cup: Abracs Wire Crimped Cup Brush 75mm | Toolstation

Link for the wire wheel: Abracs Twist Knot Wheel Brush 100mm | Toolstation