Basic info to get going with an LCD display with an I2C ‘backpack’.
This page does not cover the typical parallel connection of these displays. Go elsewhere for that.
Hardware & Pinout
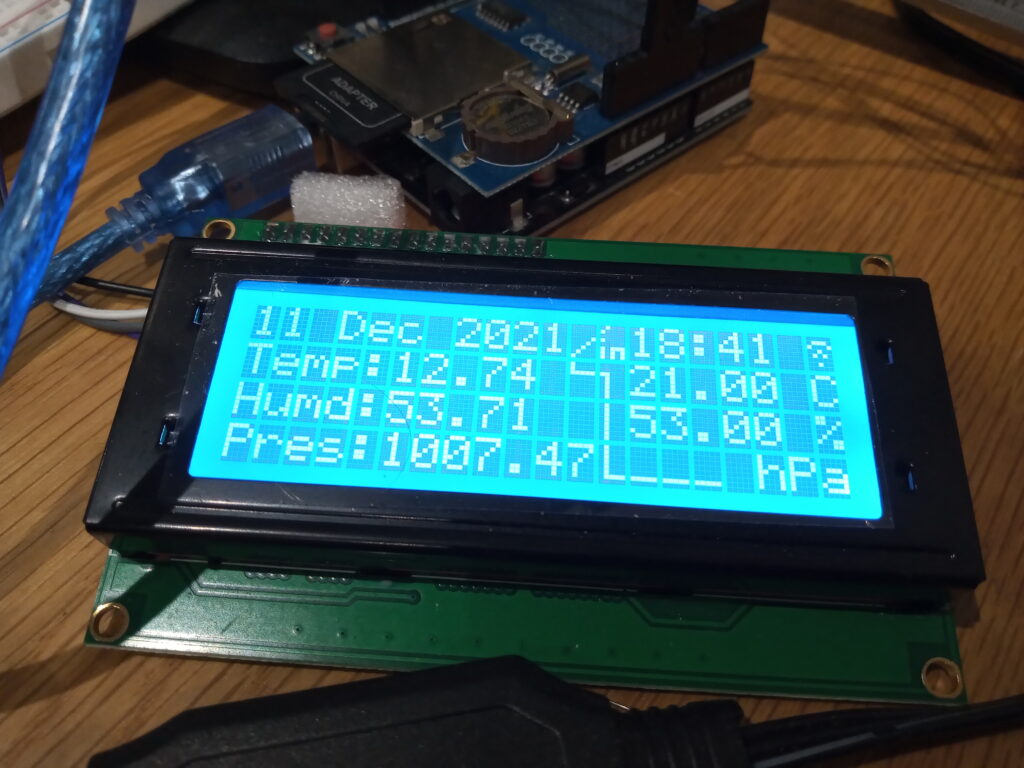
This is based on the 20×4 version pictured above, however, the 16×2 version will also work (just change height and width parameters in the code).
Connections are typical I2C bus connections:
- Vin – Typically 5V
- GND – Arduino/ESP32 (GND)
- SDA – Arduino Uno/Nano (A4) / ESP32 (GPIO 21)
- SCL – Arduino Uno/Nano (A5) / ESP32 (GPIO 22)
The jumper on the I2C backpack doesn’t seem to do anything. Leave it on in case it does.
The pot on the back is probably for contrast but I’ve not checked.
Note that the refresh period for the 20×4 display is about 1 second (1Hz) to prevent excessive blurring.
Code
This gives an idea on how to initialise the display, print text and create and use custom characters. Riveting stuff.
// Simple control of I2C enabled LCD display
// Test unit on 20x4 LCD
// 20/10/2023

#include <Wire.h>
#include <LiquidCrystal_I2C.h>

LiquidCrystal_I2C lcd(0x27, 20, 4); //address, screen width, screen height

byte smile[8] =
{
  0b00000,
  0b00000,
  0b01010,
  0b00000,
  0b00000,
  0b10001,
  0b01110,
  0b00000
};

long count;

void setup() {
  lcd.init();
  lcd.backlight();
  lcd.createChar(0, smile);
}

void loop() {
  lcd.clear();
  lcd.setCursor(0, 0);
  lcd.write(0);
  lcd.setCursor(0, 1);
  lcd.print(count);
  count++;
  delay(1000);
}
Last updated: 20/10/2023