The Arduino’s I2C bus is a versatile and easy to use communications protocol with the bonus of only using two data wires!
I2C communication is supported on a wide arrange of modules including LCD displays, OLED displays, LiDAR sensors, Real-time-clocks, accelerometers, temperature/humidity sensors, ToF distance sensors,… the list goes on!
This section of code is a powerful tool to use with any I2C devices. It can be used to discover the addresses of any and all modules connected to the bus – useful when documentation is poor. Alternatively, the code can be used as a nifty troubleshooting tool to determine if a module is connected correctly.
Hook Up
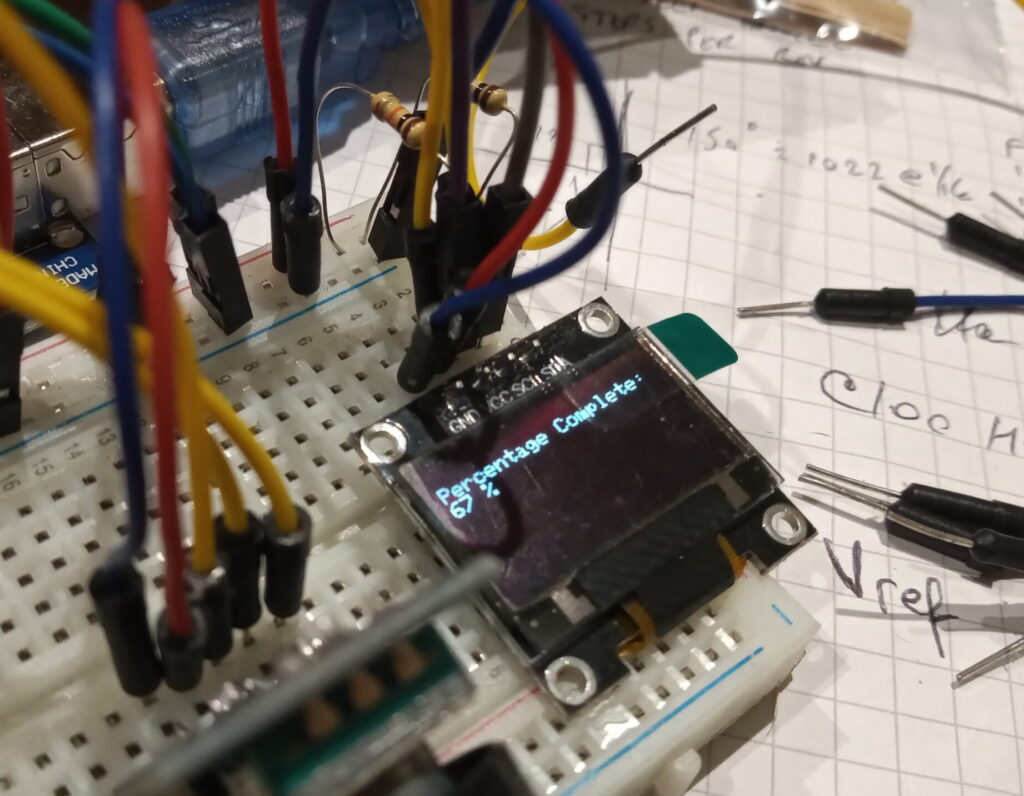
Connect all necessary modules to the I2C bus as follows. The modules should be labelled with a data line (SDA) and a clock line (SCL).
- I2C Data (SDA) = Arduino Uno/nano pin A4 (Mega2560 = Pin 20)
- I2C Clock (SCL) = Arduino Uno/nano pin A5 (Mega2560 = Pin 21)
- Power and ground connections to power and ground.
Important Note: the I2C bus needs a pull up resistor on both lines. A pair of 10k ohm resistors between the lines and the 5V rail will work. Only one set of pull up resistors are required regardless of the number of devices on the bus. It’s worth noting that many modules include in-built pull up resistors.
The Code
Simply upload this code to your Arduino and open up the serial monitor (9600 baud rate).
    // --------------------------------------
    // i2c_scanner
    //
    // Version 1
    //    This program (or code that looks like it)
    //    can be found in many places.
    //    For example on the Arduino.cc forum.
    //    The original author is not know.
    // Version 2, Juni 2012, Using Arduino 1.0.1
    //     Adapted to be as simple as possible by Arduino.cc user Krodal
    // Version 3, Feb 26  2013
    //    V3 by louarnold
    // Version 4, March 3, 2013, Using Arduino 1.0.3
    //    by Arduino.cc user Krodal.
    //    Changes by louarnold removed.
    //    Scanning addresses changed from 0...127 to 1...119,
    //    according to the i2c scanner by Nick Gammon
    //    https://www.gammon.com.au/forum/?id=10896
    // Version 5, March 28, 2013
    //    As version 4, but address scans now to 127.
    //    A sensor seems to use address 120.
    // Version 6, November 27, 2015.
    //    Added waiting for the Leonardo serial communication.
    //
    //
    // This sketch tests the standard 7-bit addresses
    // Devices with higher bit address might not be seen properly.
    //

    #include <Wire.h>


    void setup()
    {
      Wire.begin();

      Serial.begin(9600);
      while (!Serial);
      Serial.println("\nI2C Scanner");
    }


    void loop()
    {
      byte error, address;
      int nDevices;

      Serial.println("Scanning...");

      nDevices = 0;
      for(address = 1; address < 127; address++ )
      {
        // The i2c_scanner uses the return value of
        // the Write.endTransmission to see if
        // a device did acknowledge to the address.
        Wire.beginTransmission(address);
        error = Wire.endTransmission();

        if (error == 0)
        {
          Serial.print("I2C device found at address 0x");
          if (address<16)
            Serial.print("0");
          Serial.print(address,HEX);
          Serial.println("  !");

          nDevices++;
        }
        else if (error==4)
        {
          Serial.print("Unknown error at address 0x");
          if (address<16)
            Serial.print("0");
          Serial.println(address,HEX);
        }
      }
      if (nDevices == 0)
        Serial.println("No I2C devices found\n");
      else
        Serial.println("done\n");

      delay(5000);           // wait 5 seconds for next scan
    }
Last updated: 30/09/2022