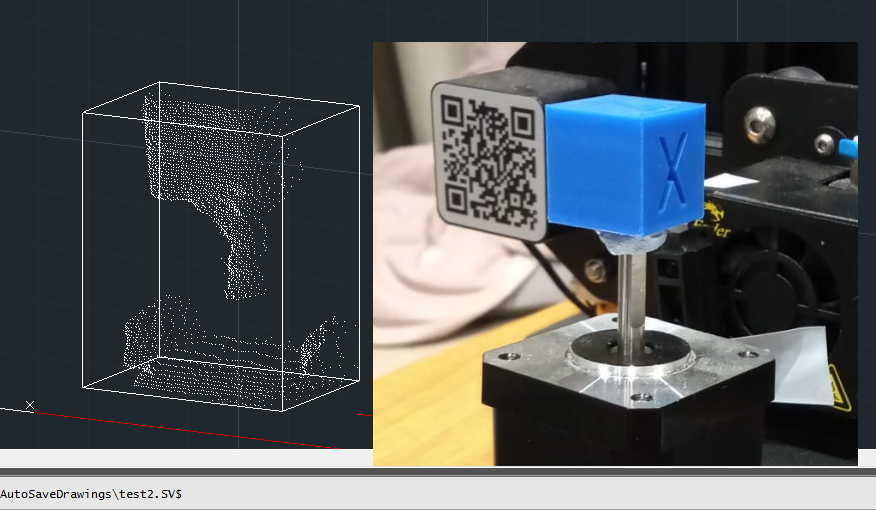
Got to working prototype stage; the scanner was able to send x,y,z co-ordinates to the serial monitor as a formatted .xyz file. The hardware of the scanner consisted of a hijacked Ender 3 printer and an Arduino Uno with CNC stepper motor shield. The scanner was a Sharp IR distance sensor with analogue output taped to the hot end of the 3D printer.
To set the zero position, you controlled the X & Z co-ordinates of the sensor position with a keypad. Pressing the 5th button on the keypad started the scan.
The scanner would then take up to 4 hours to scan 4 rotated grids consisting of 100×100 points over a cube measuring 50x50x50.
At the time, the results produced were underwhelming; all my scans looked like a peanut and the project was boxed away*.
Working forward; the accuracy can be increased by creating a more rigid and stable prototype. However, the precision is limited by the sensor. This can be calibrated better but is still limited in resolution and speed (with the filter I’ve programmed).
There is one elephant in the room: lids.
Due to the mode of operation of this scanner, it cannot scan any horizontal planes. Could be eliminated with using a curved frame, but the main goal was to convert an ender 3.

*Ironically, since upgrading my PC and having access to different software; the original scans have shown more promising results.
The project is rumbling on. It would be good to see what it could achieve if given the chance. I intend to use it for future projects, however the ‘lid’ issue is a major snag, and better results are achievable with photogrammetry.