New Addition: Photon Mono SE
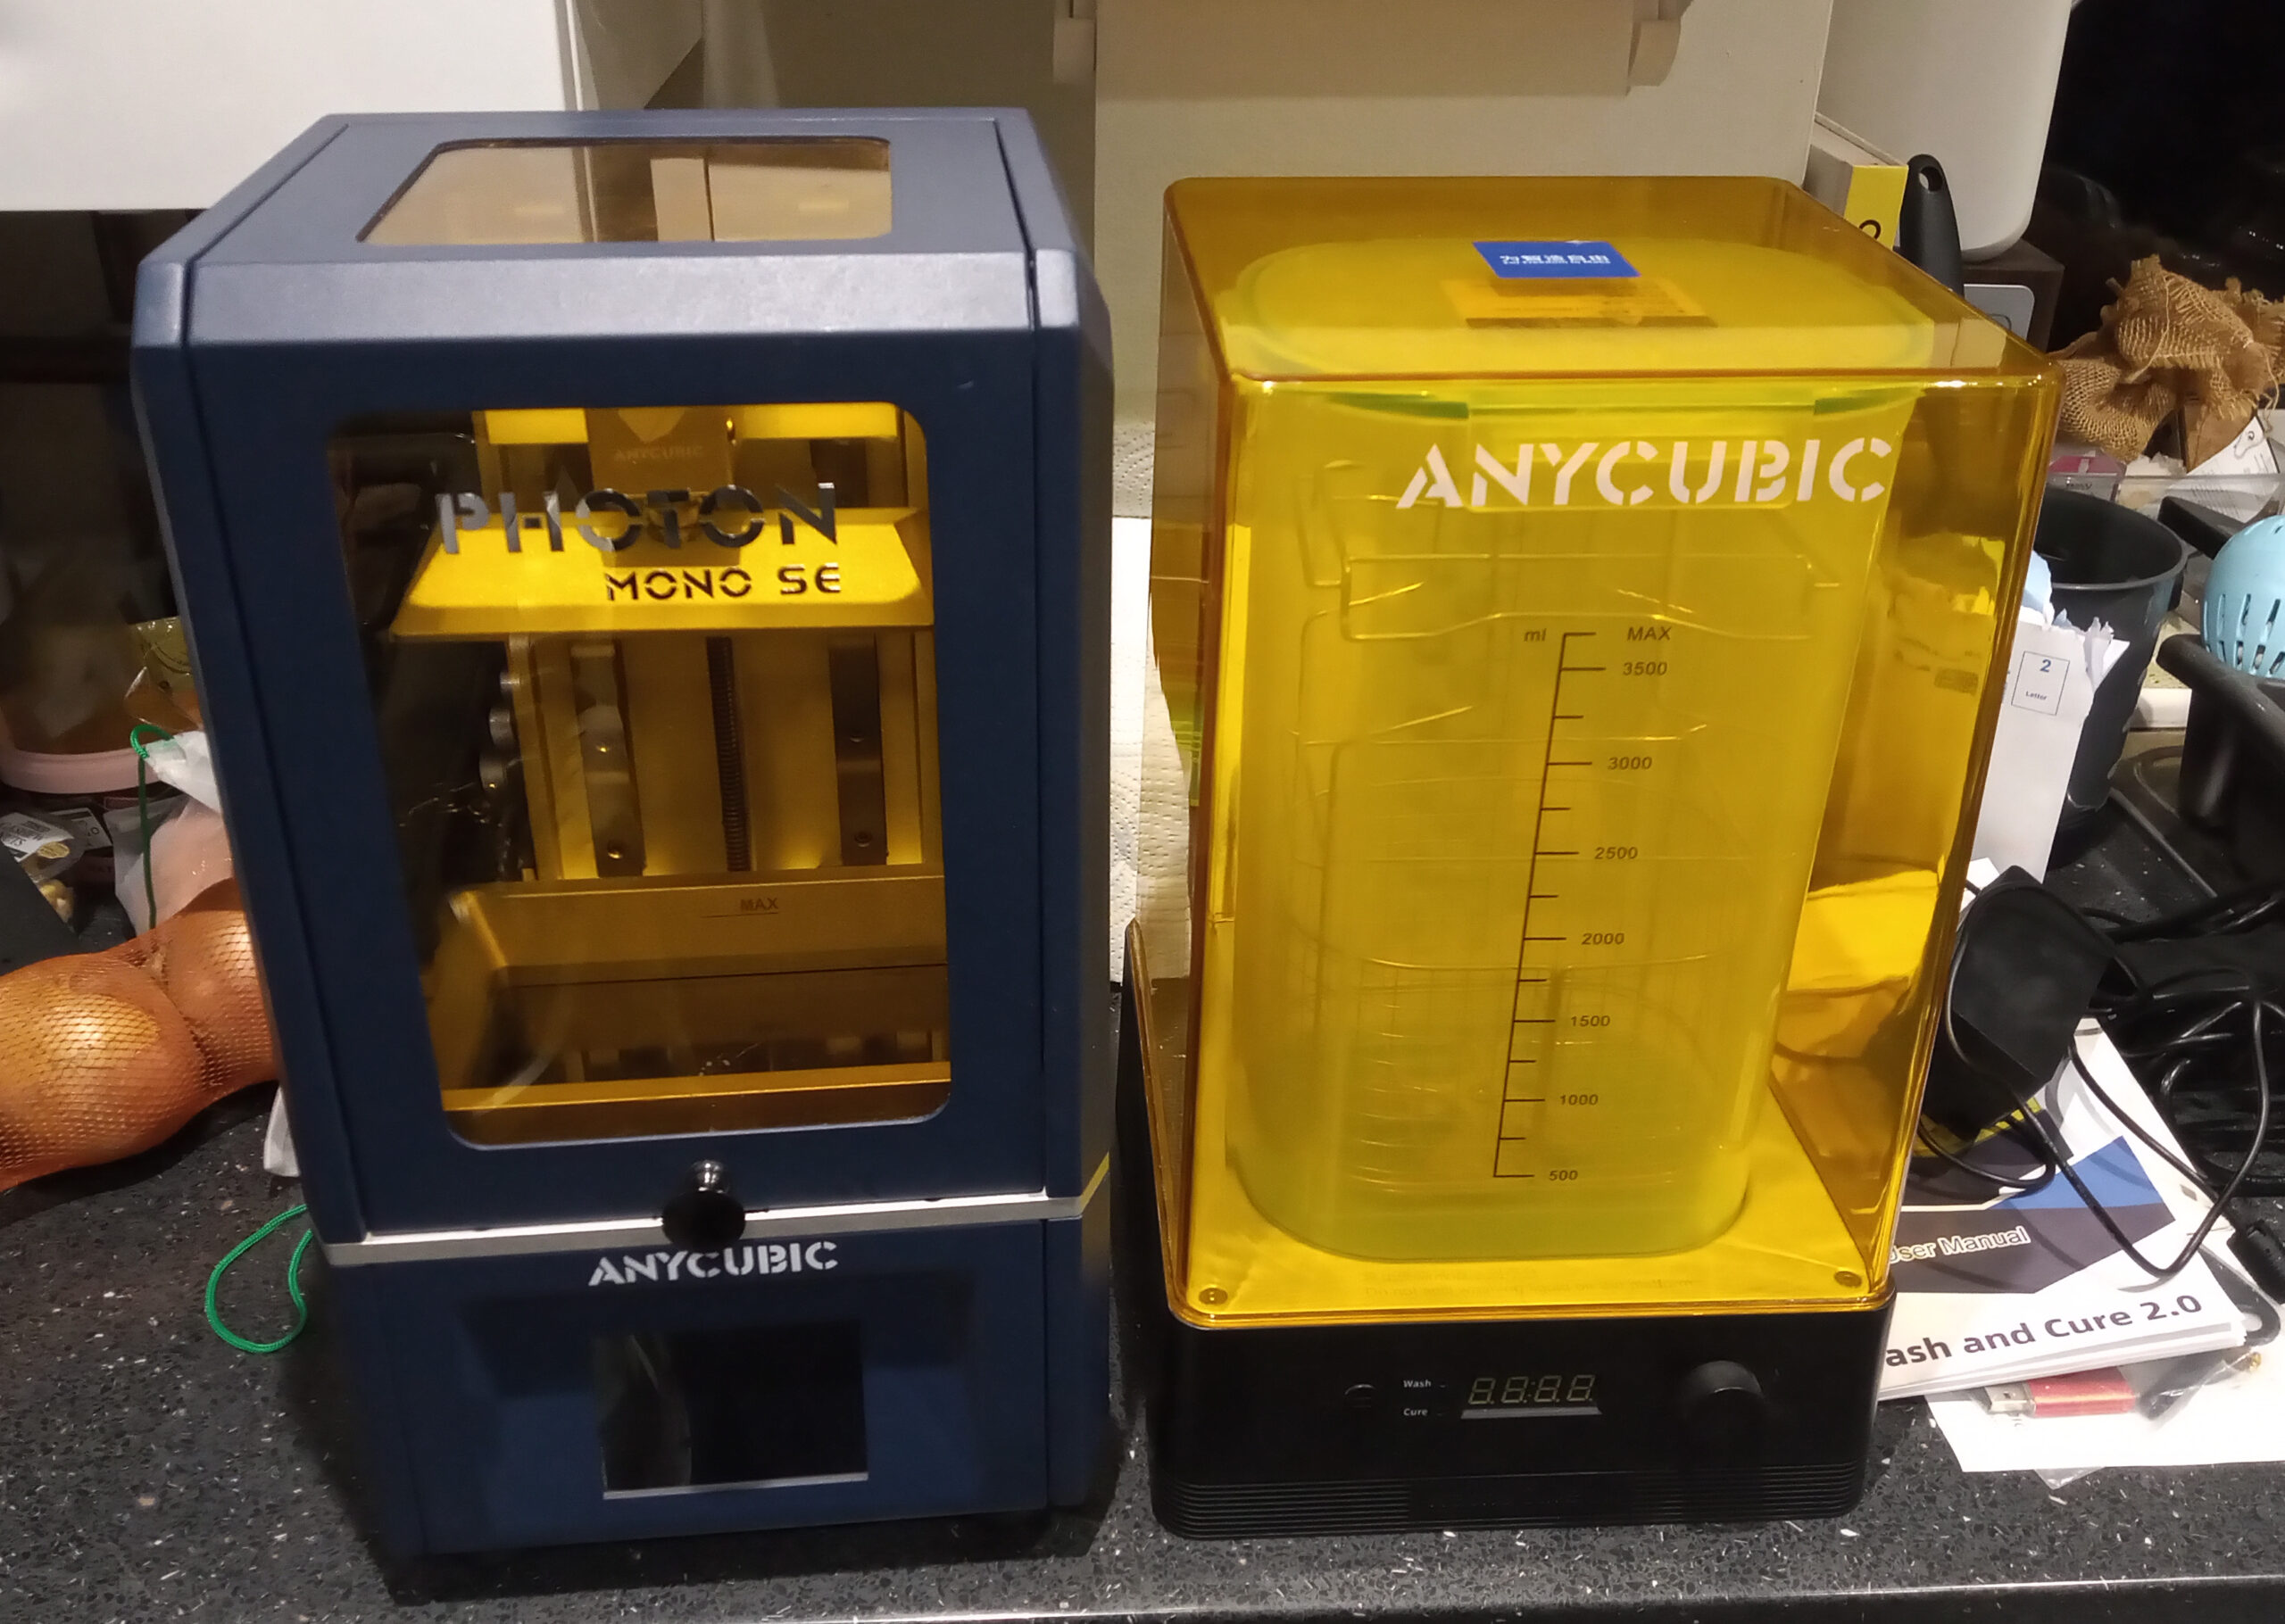
After much deliberating, I’ve taken the plunge and invested in an SLA resin printer. Sourced a second-hand Anycubic Photon Mono SE printer, complete with the […]
After much deliberating, I’ve taken the plunge and invested in an SLA resin printer. Sourced a second-hand Anycubic Photon Mono SE printer, complete with the […]
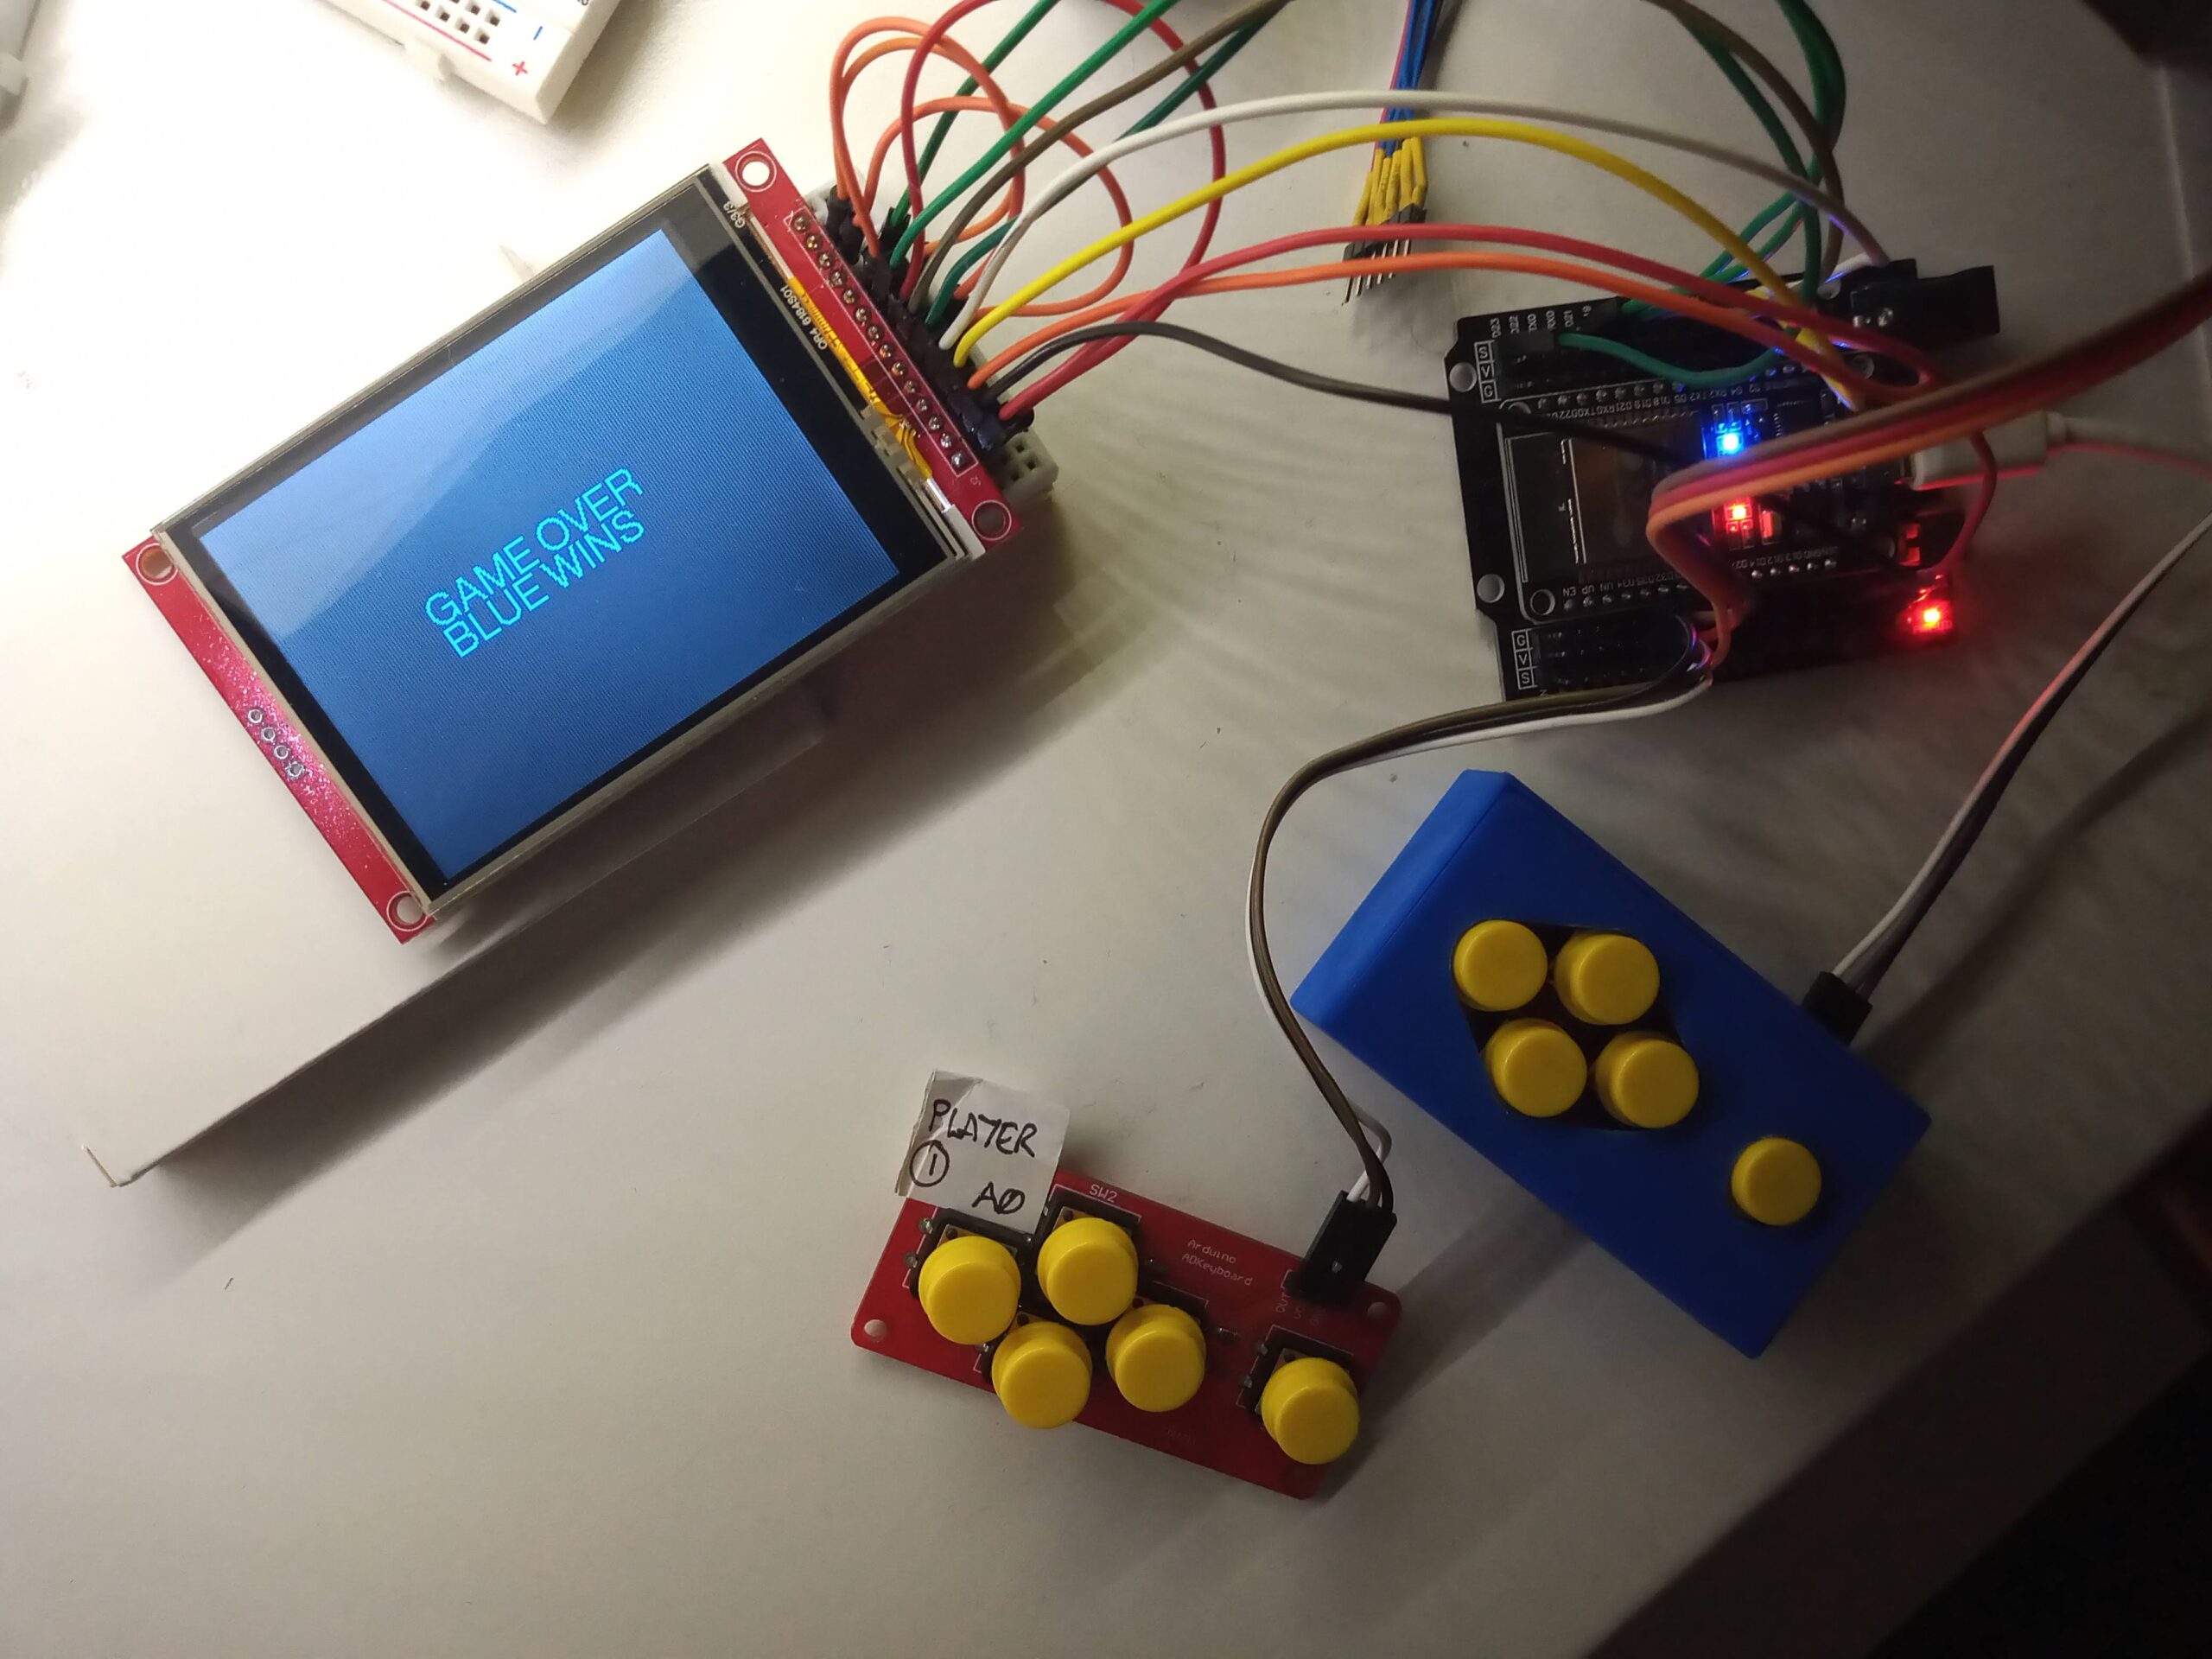
Instead of concentrating on the proper projects, I’ve devoted my time to literature, recycling and wood working as detailed below. Taking procrastination to a new […]
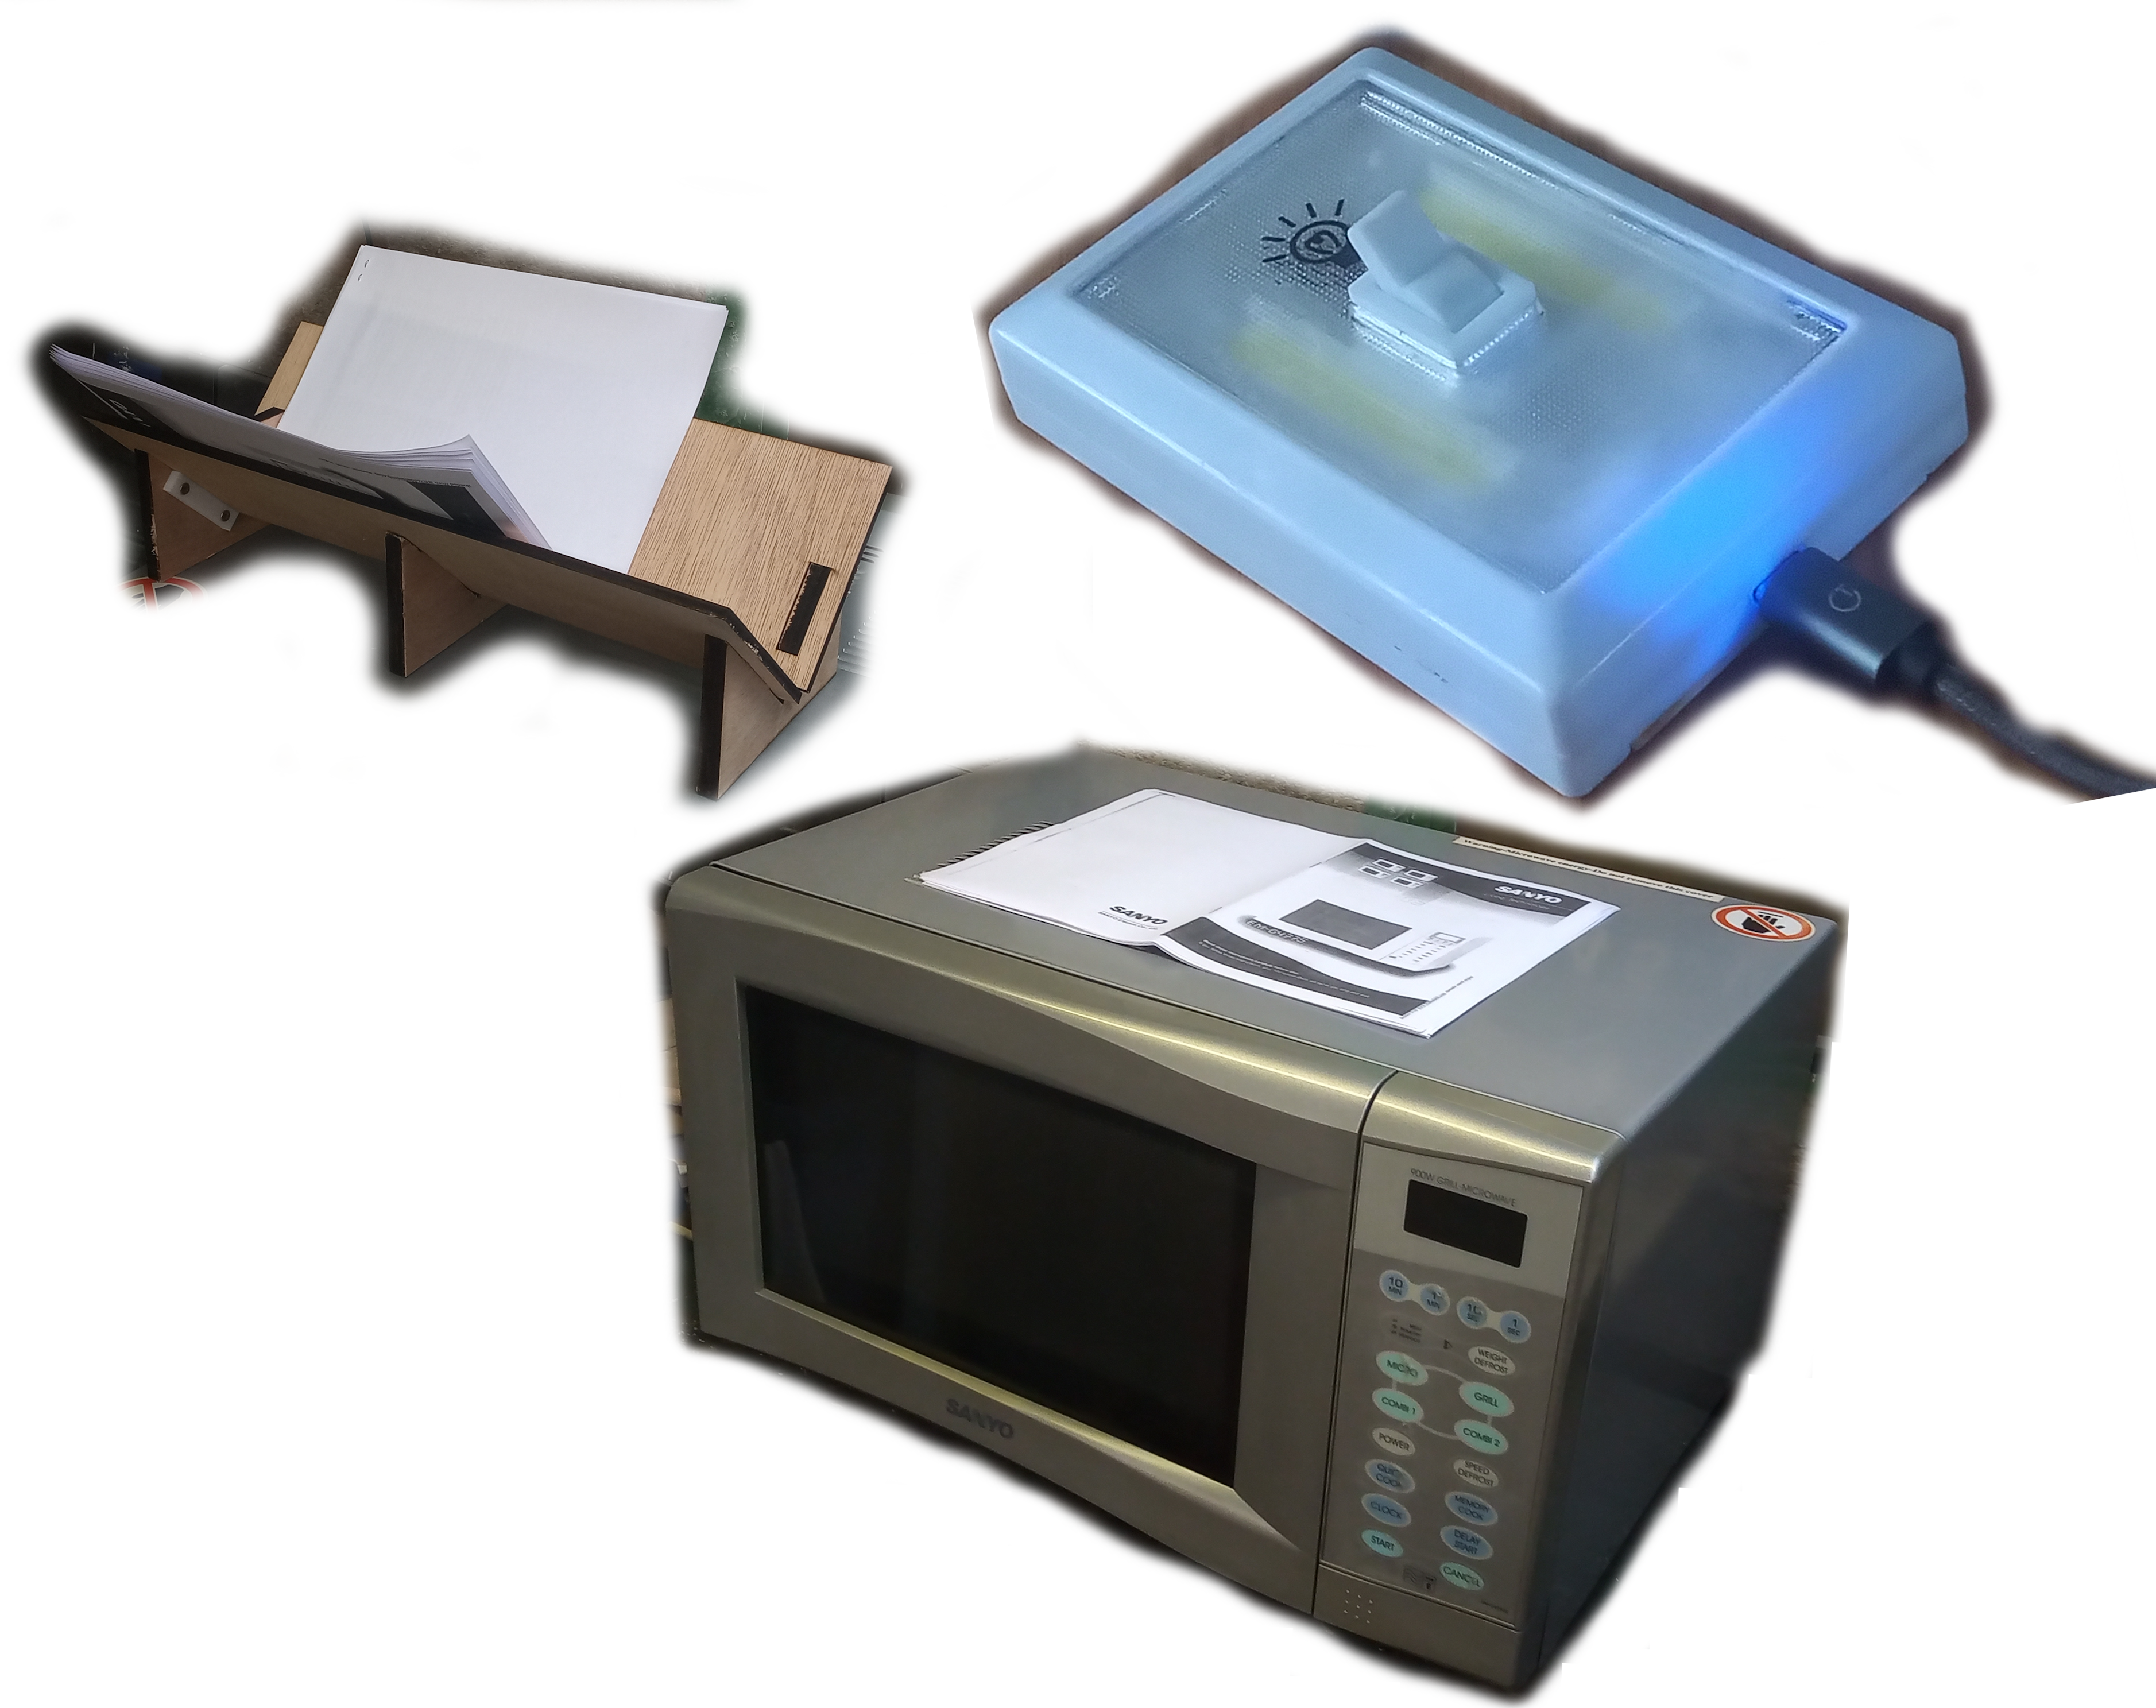
Apparently I get distracted easily. This was another project that reached 85% and then sat idle for several months. Here is a write up documenting […]
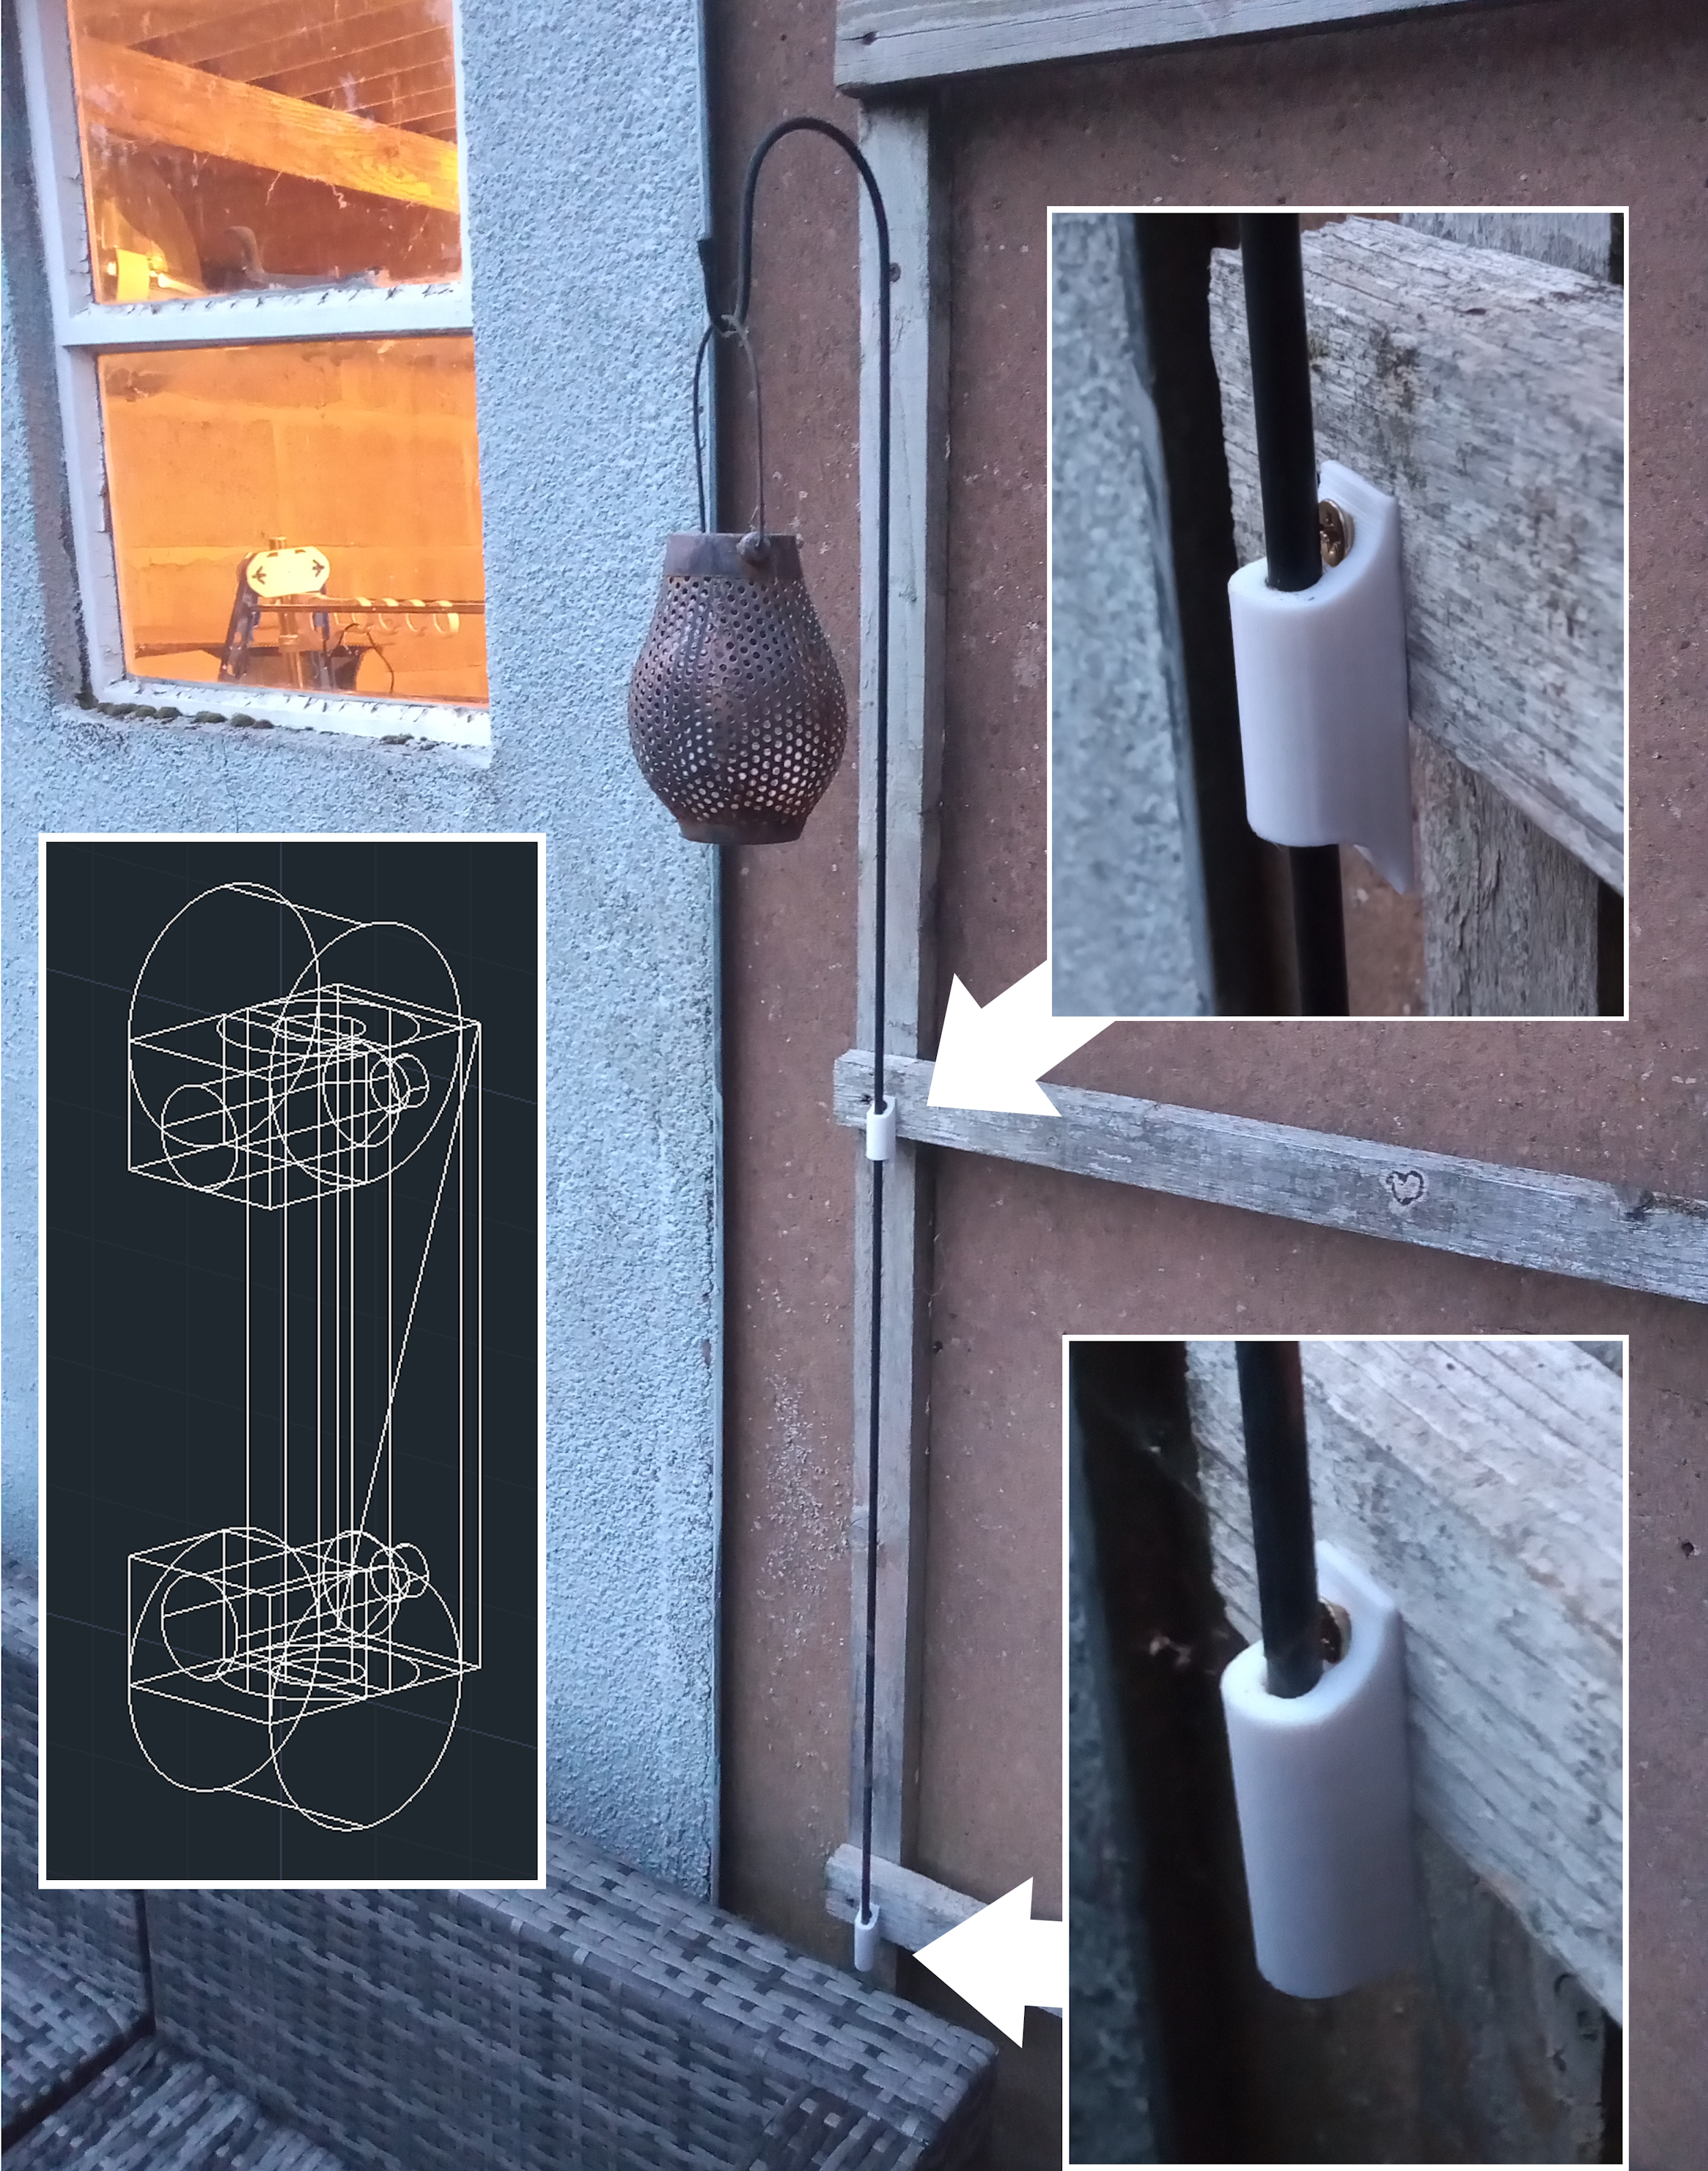
Due to the acquisition of new patio furniture; we needed to move the ground mounted light spike. Cue 3D printing a pair of holders to […]
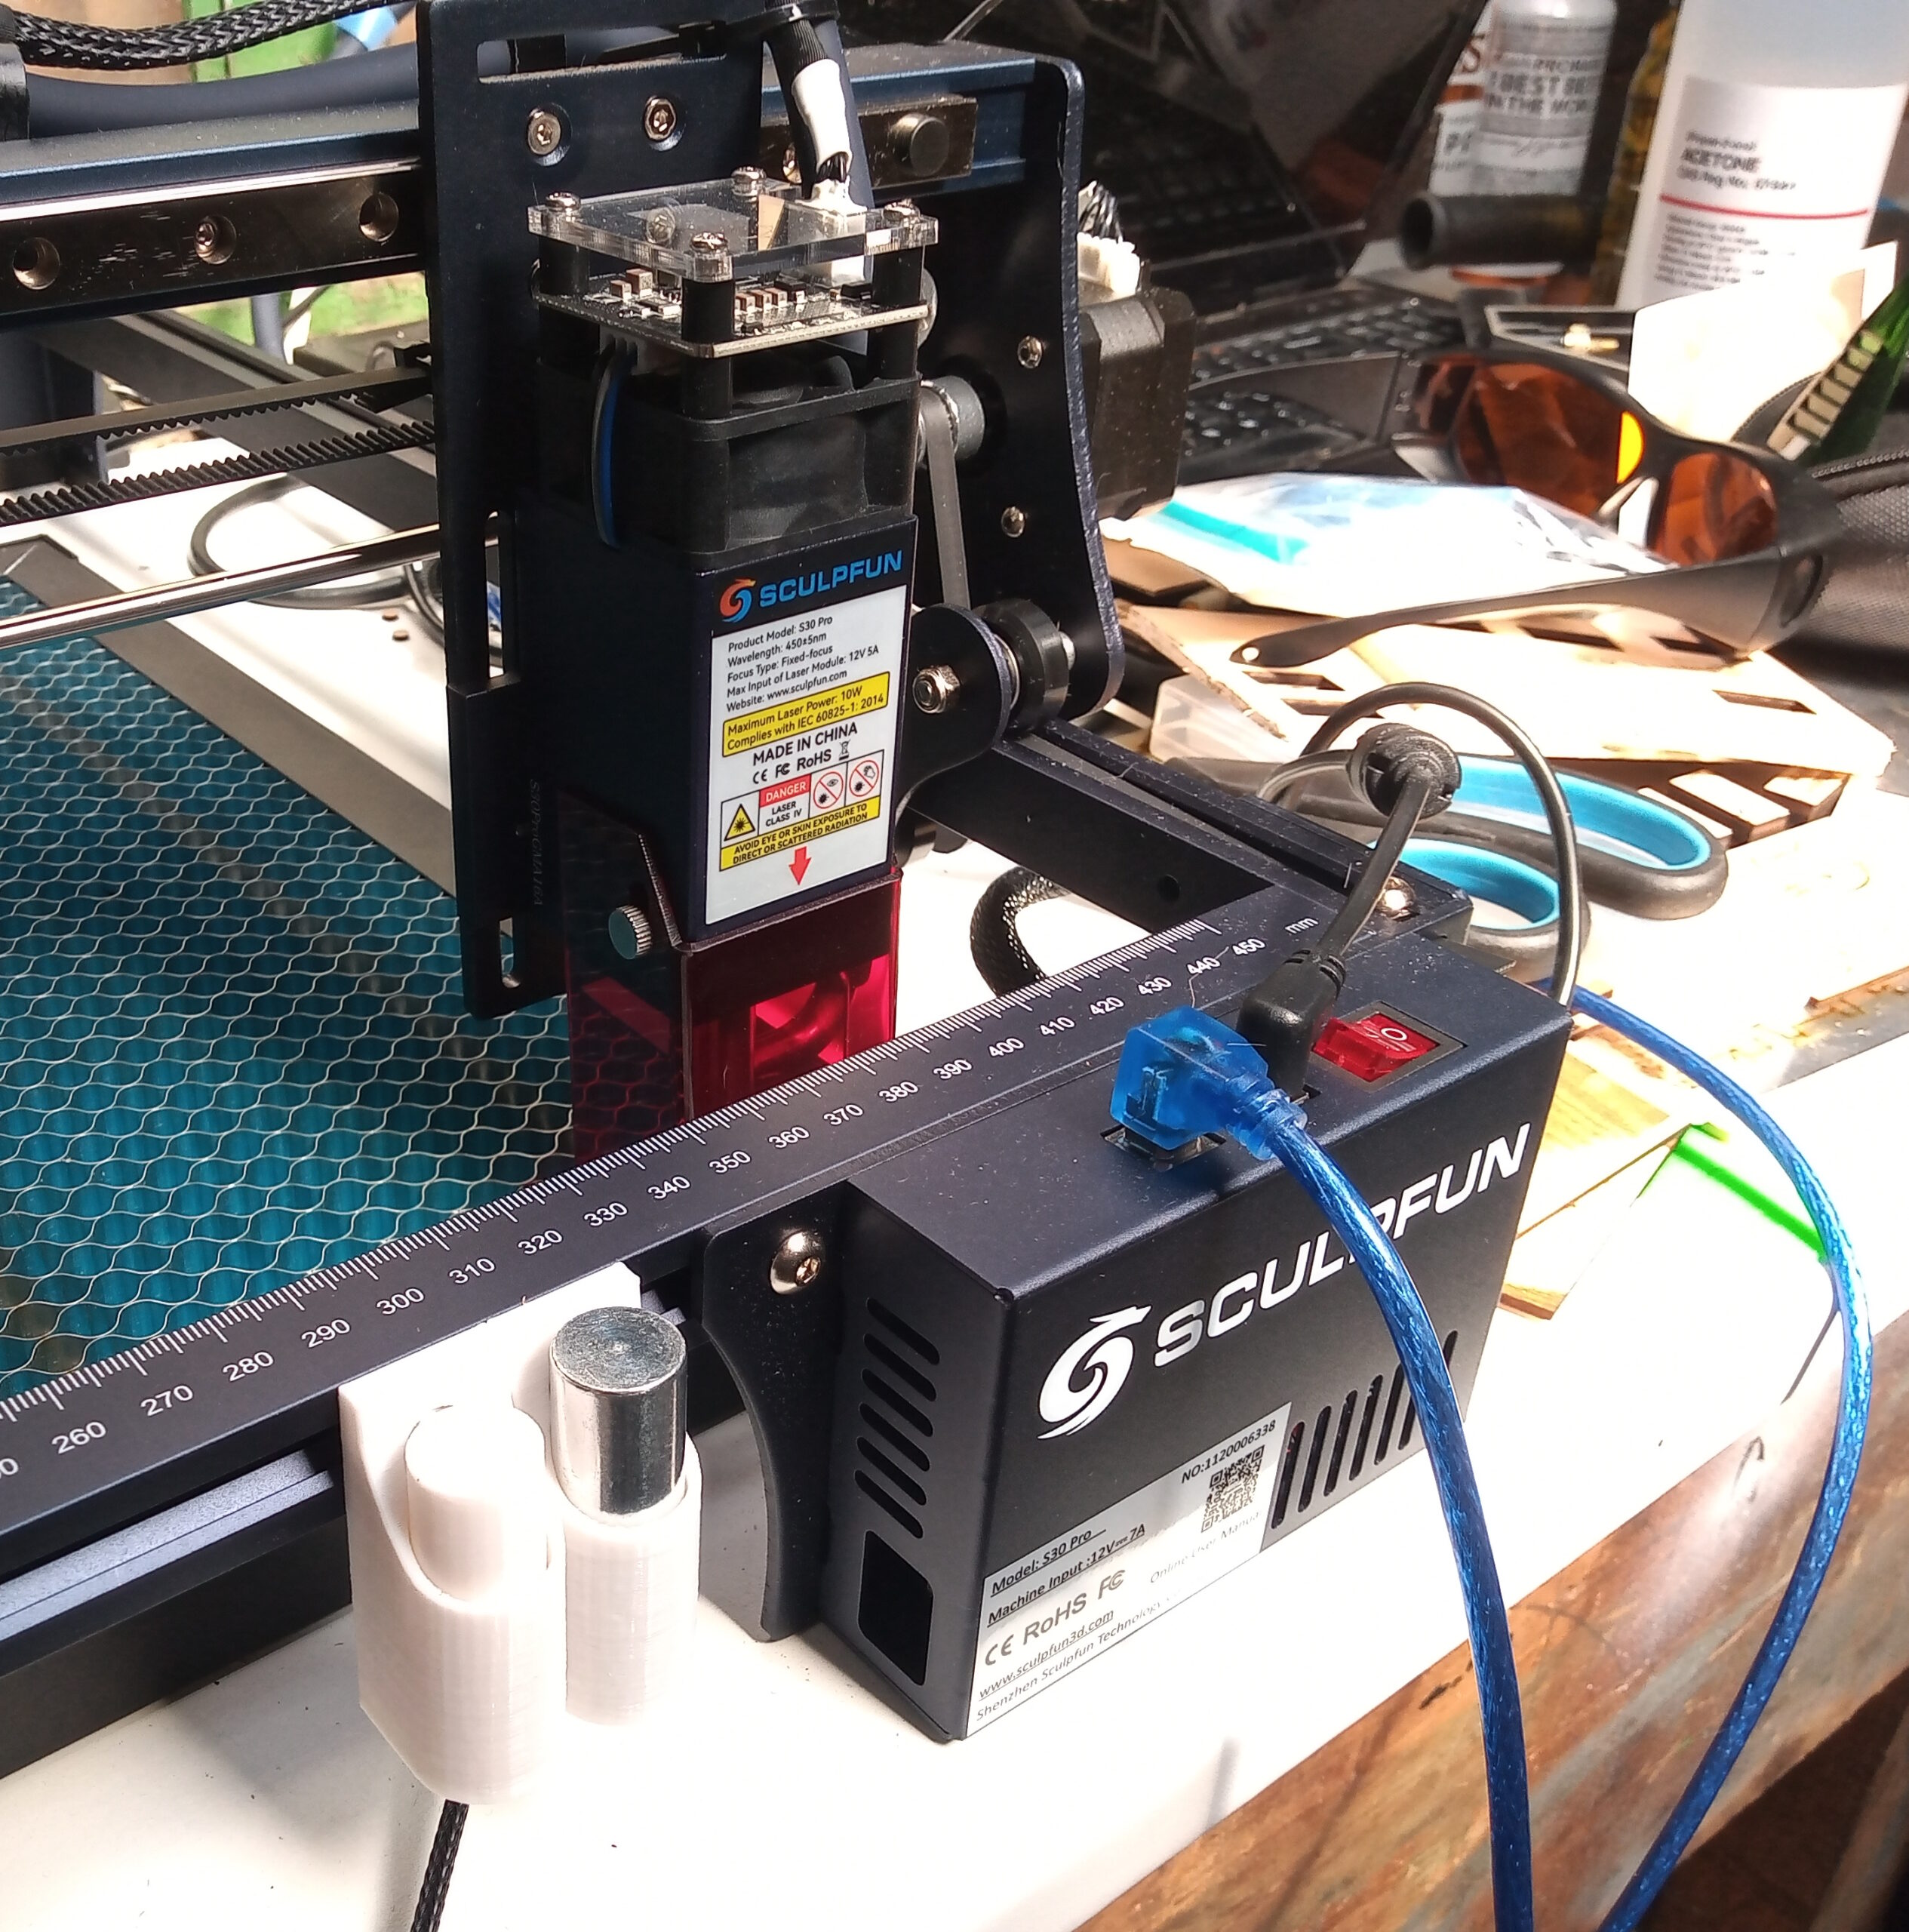
After much deliberation over many months, the workshop has now been upgraded with a Sculpfun S30 Pro laser cutter/engraver. This particular model features a 10W […]
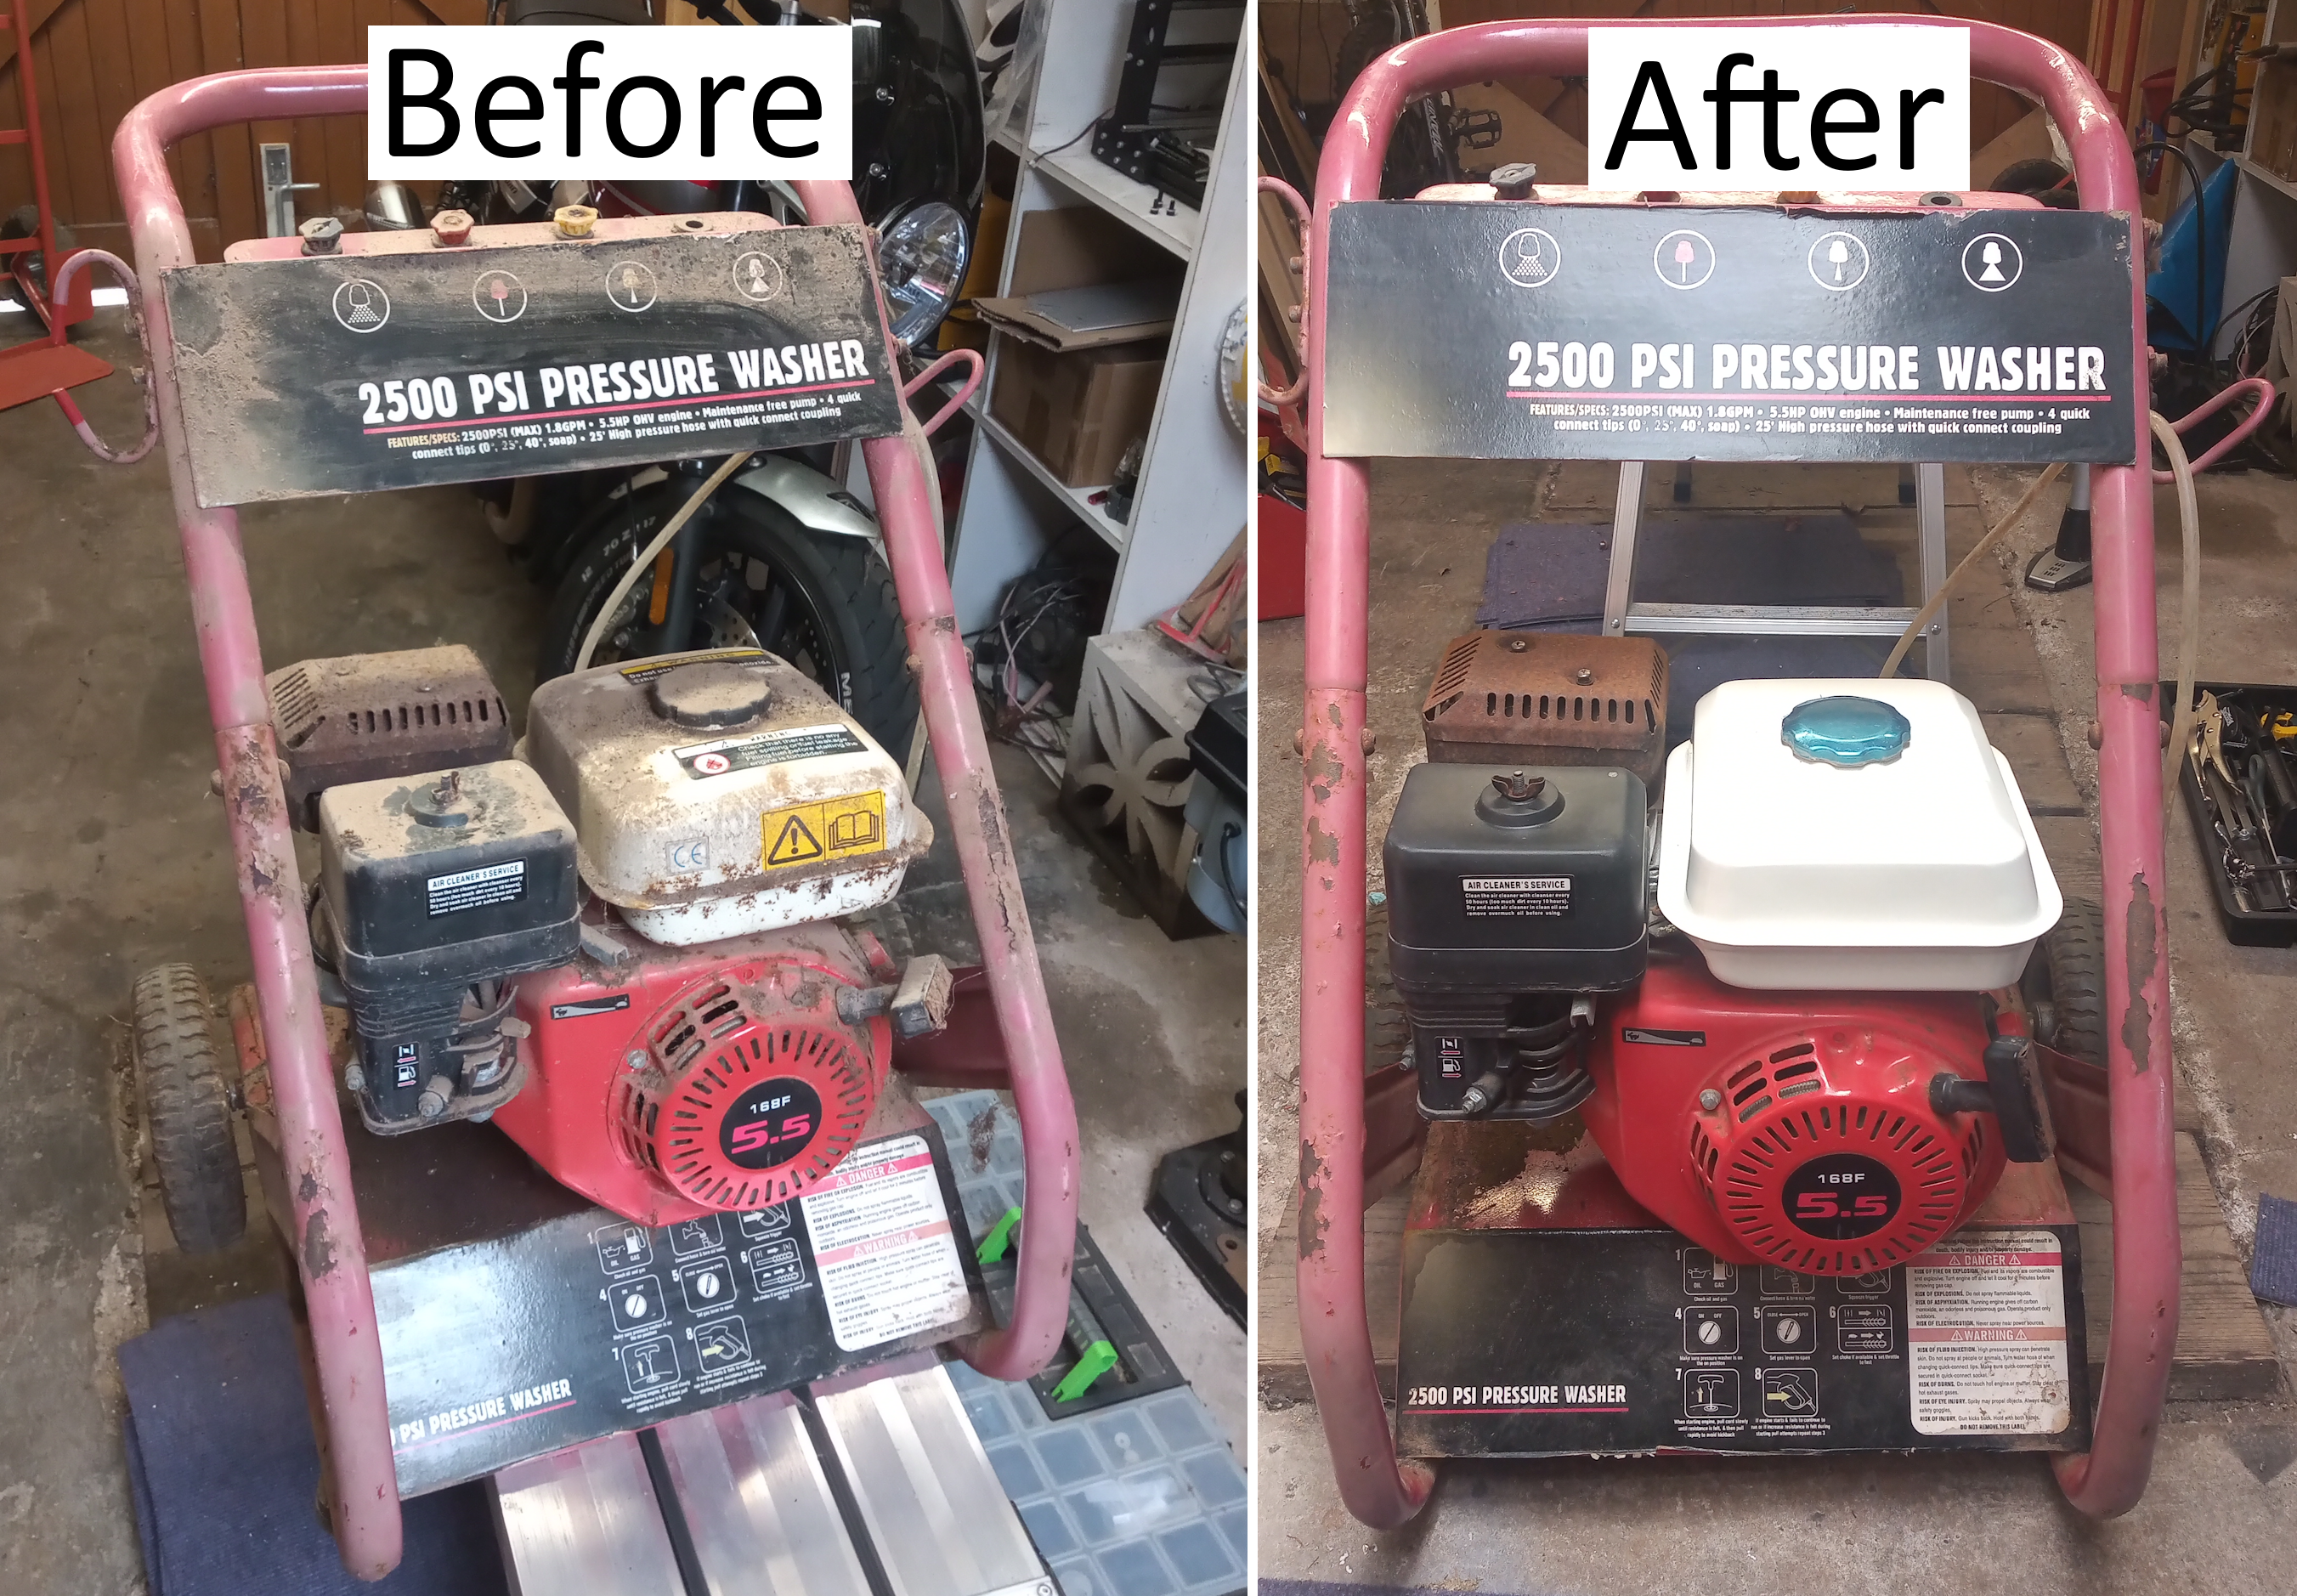
This pressure washer came to me from storage – I’m unsure on how long it had been in storage, nor if the storage was water-tight. […]
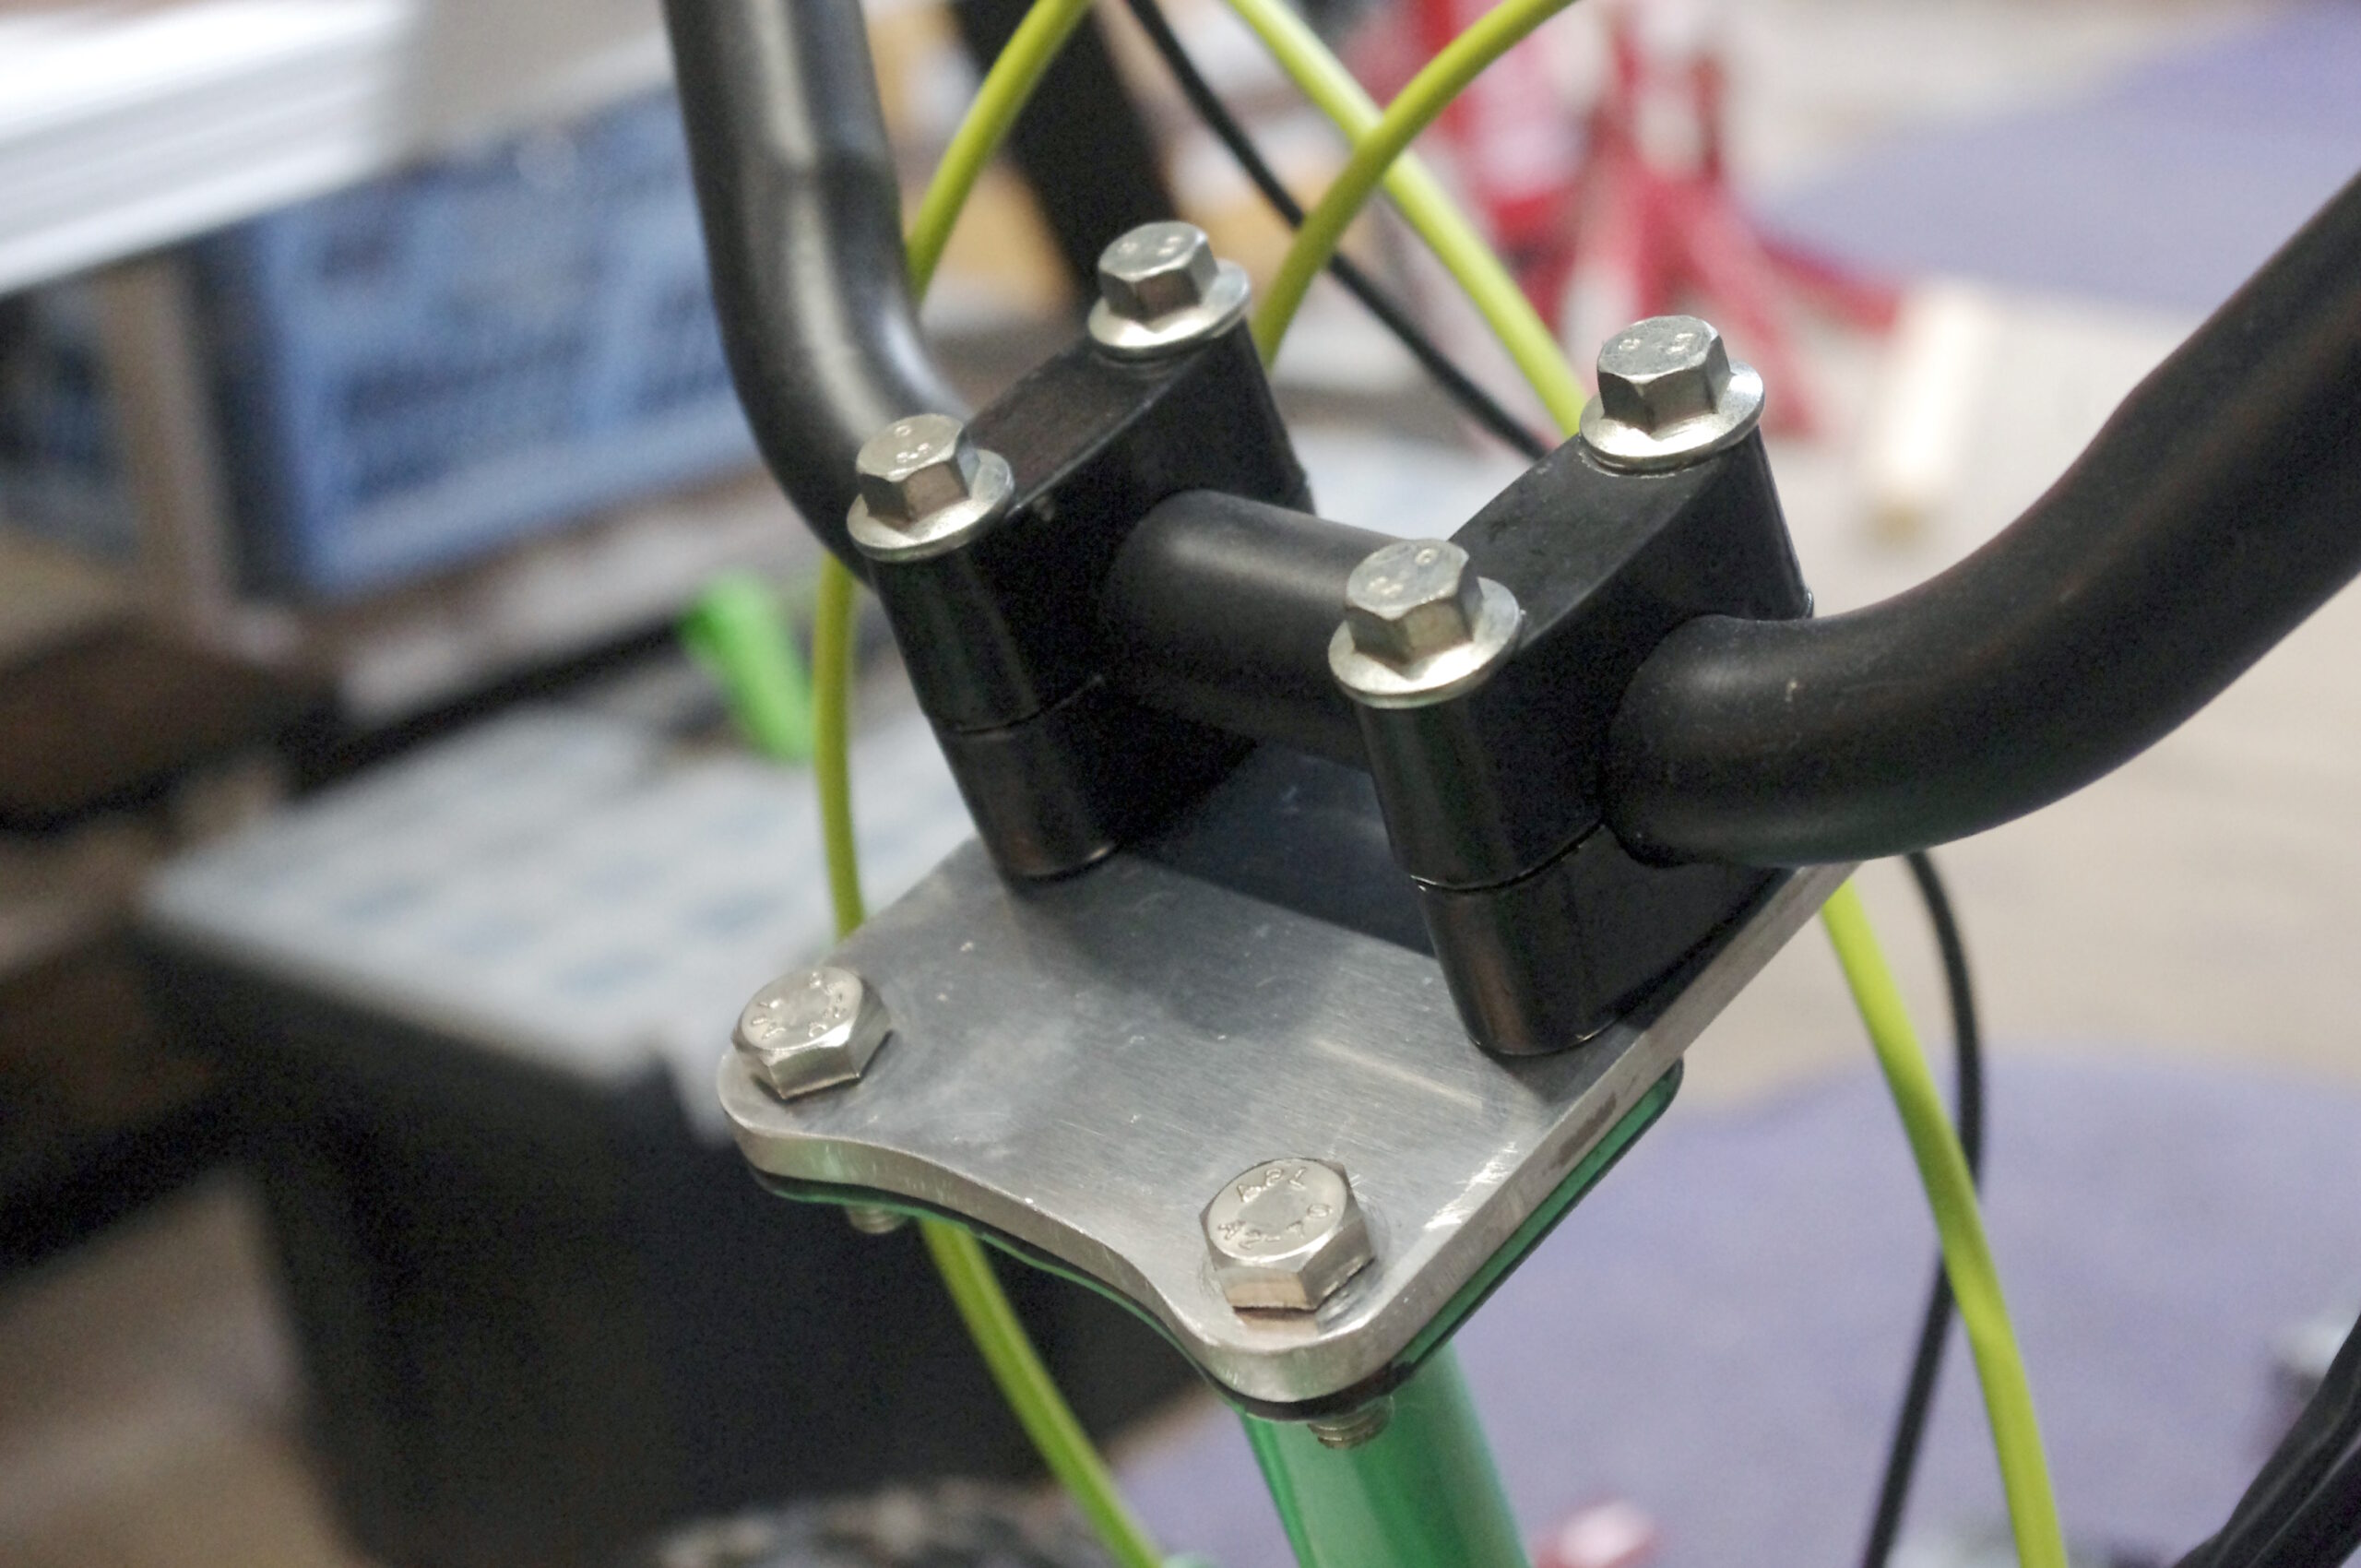
After test riding the quad, it became obvious that this quad bike was made for children and I am an adult. One of the main […]
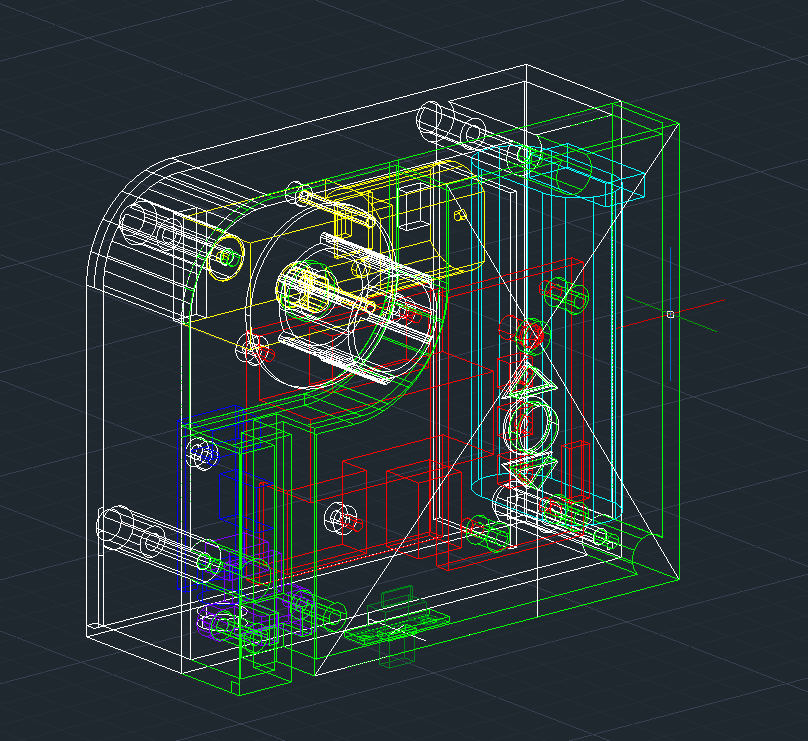
After a two-month hiatus, more progress is made on the bark-activated blind and Version 3 has been designed. Changes in version 3: Have a play […]
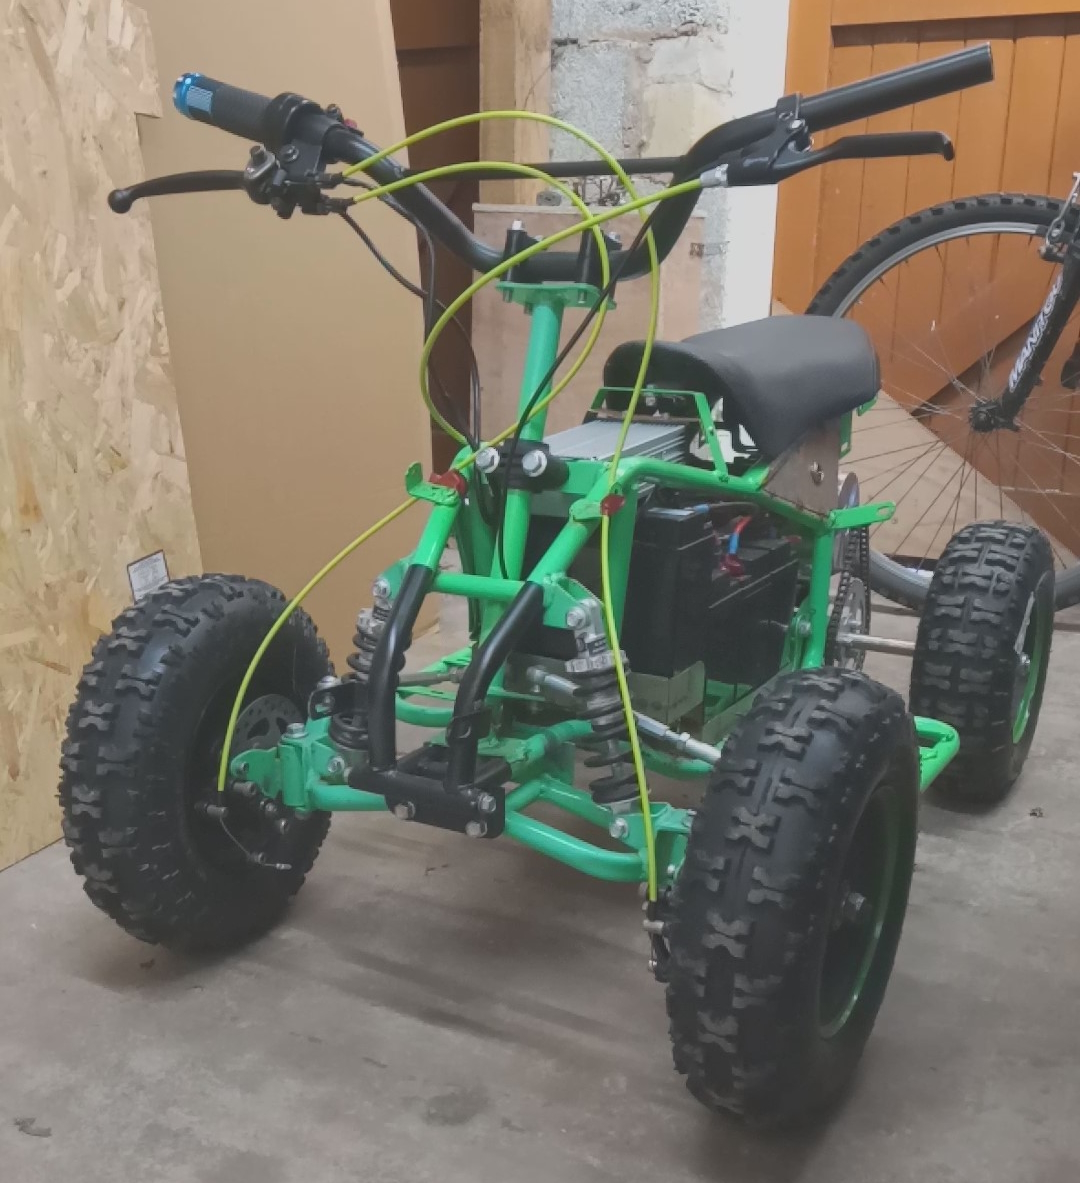
After a fair amount of time in various states of disrepair, the quad has finally been reassembled and taken for a test ride. Check out […]
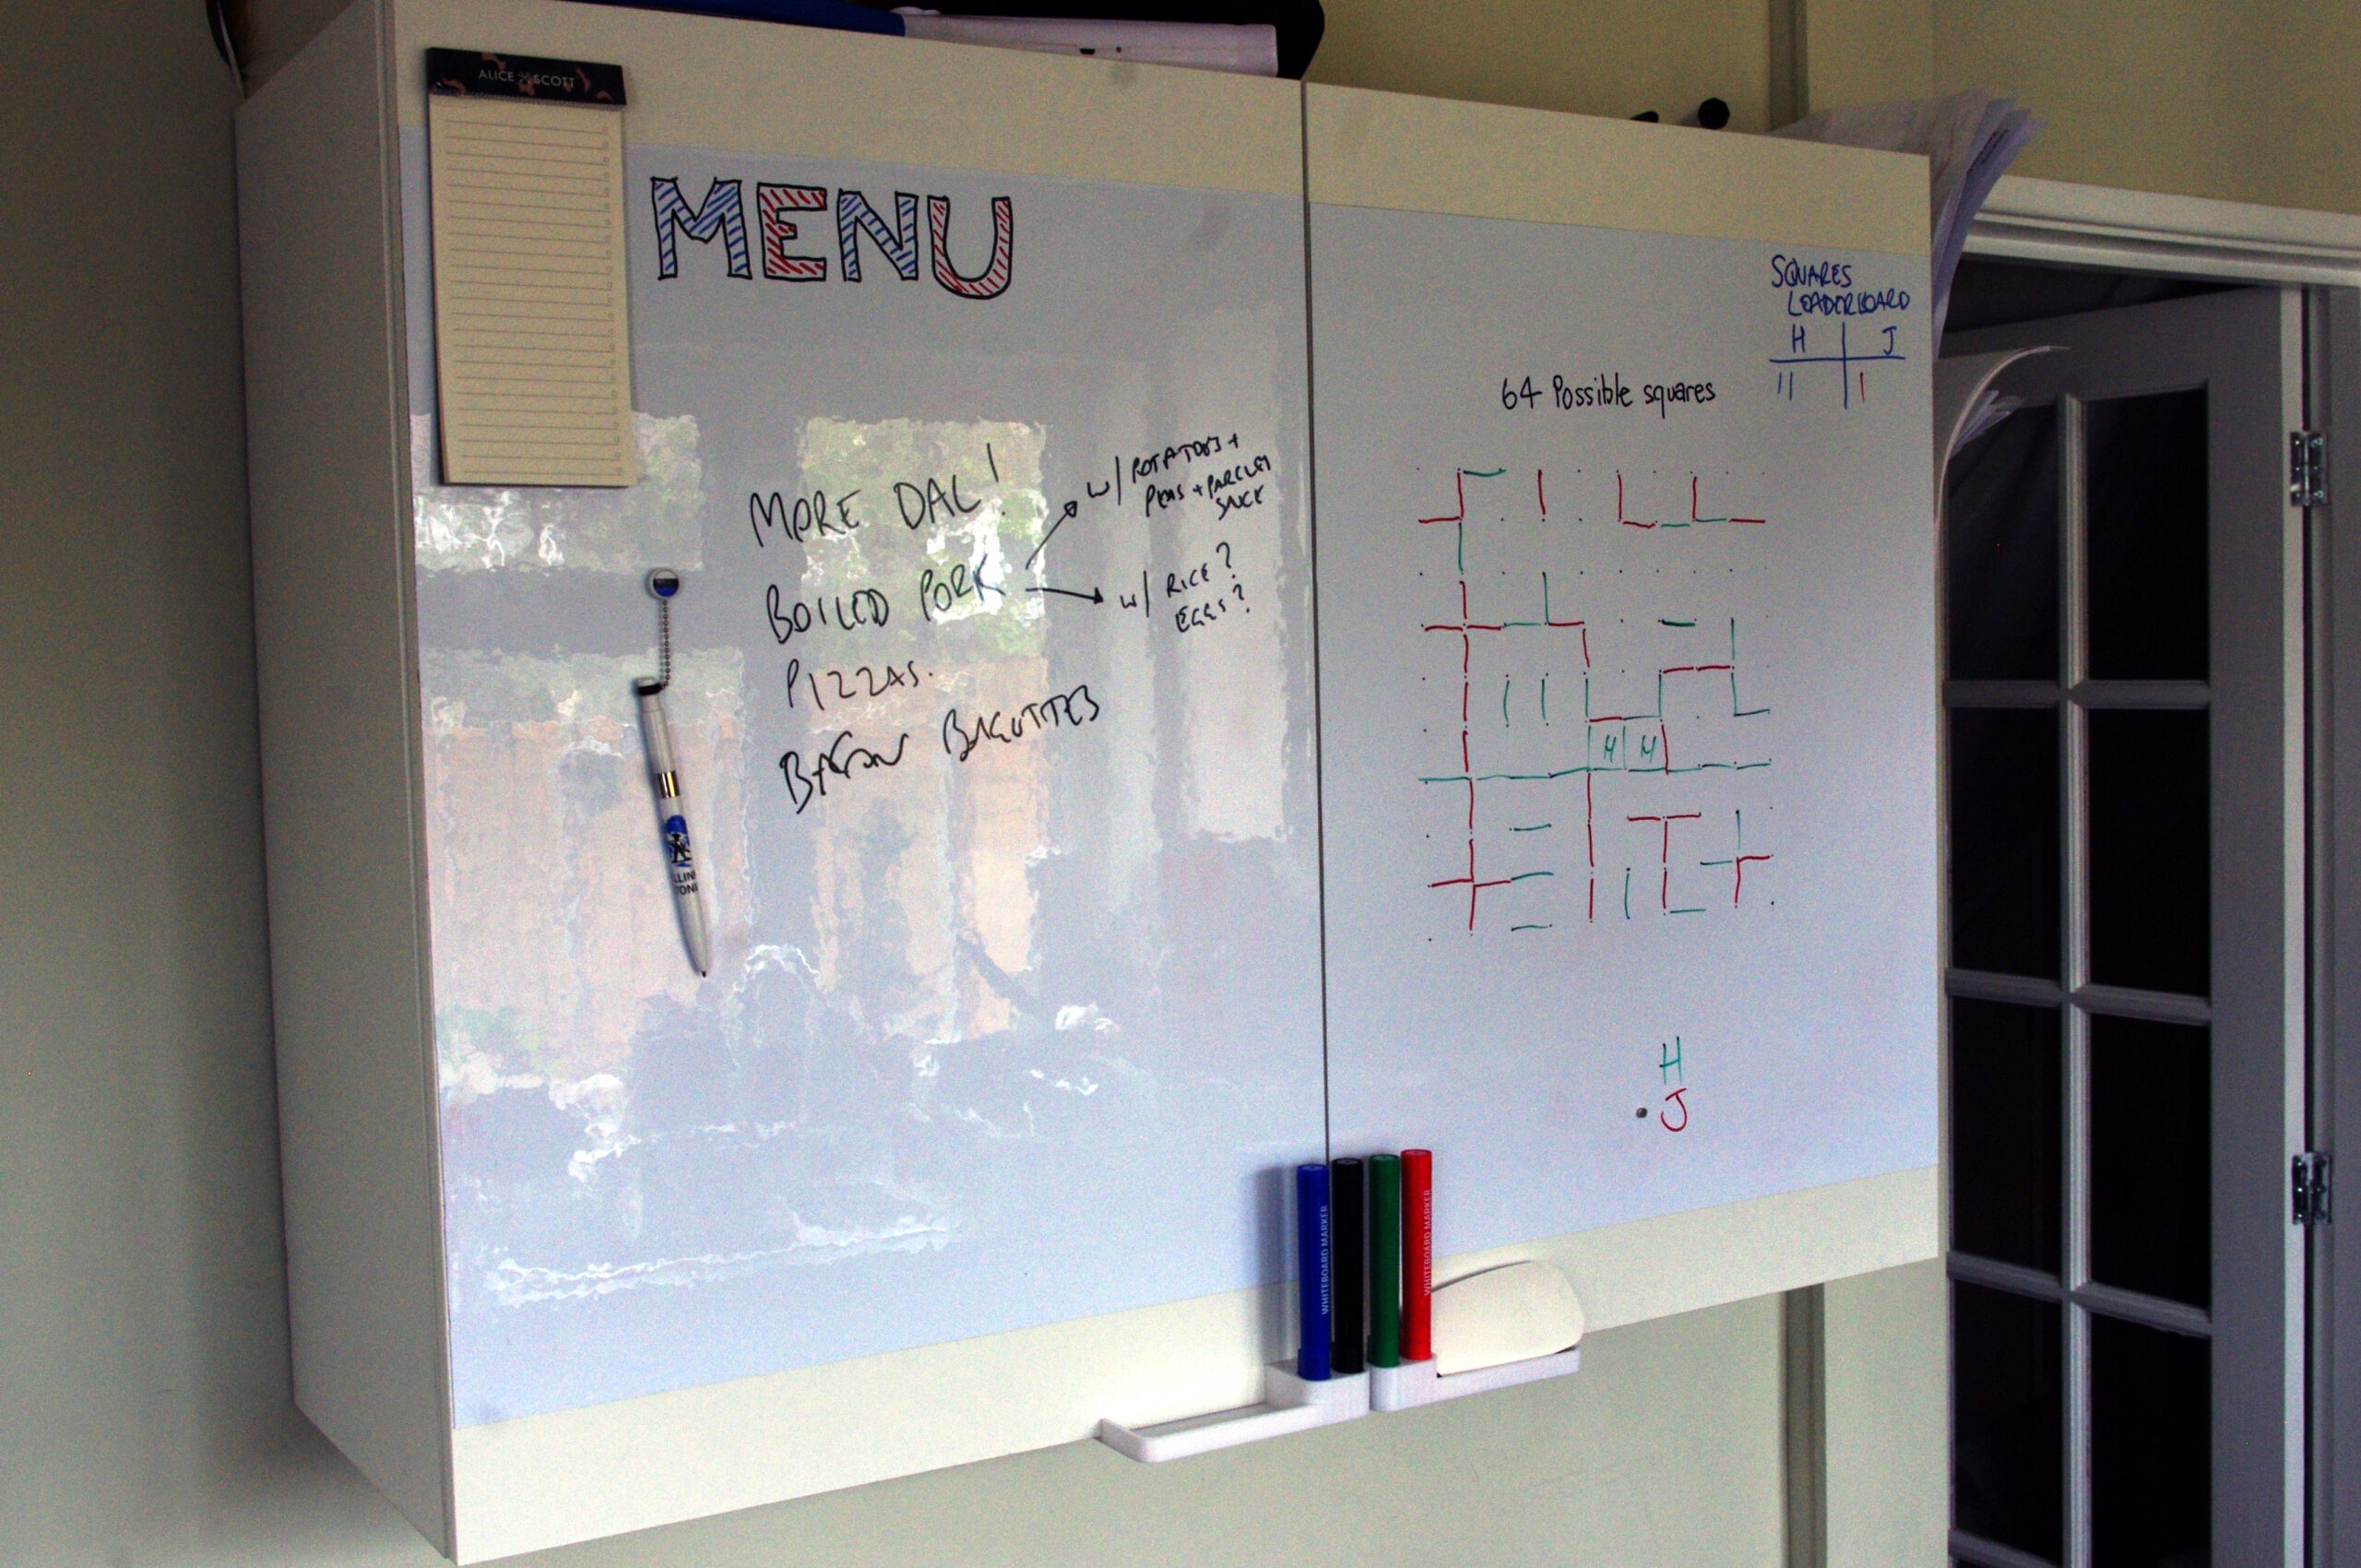
You can never have enough kitchen storage. This was a short project to turn a bog-standard wall unit in to a multi-function magnetic memo board, […]
Copyright © 2025 | WordPress Theme by MH Themes