Update: 25/01/2025
Version 2 noted on the ‘Future Projects‘ page has begun as my year-two college project.
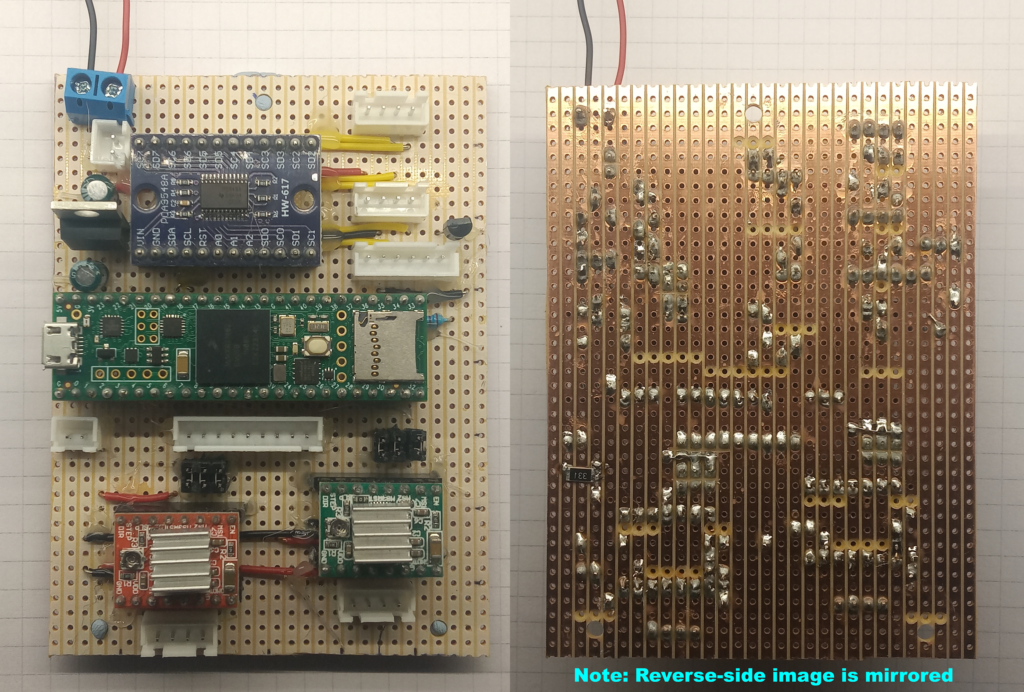
The image to the right shows the main circuit board for the MCU, MUX, Drivers, power regulation and general I/O.
This new version includes a pair of 12 bit magnetic rotatory encoders and upgraded LiDAR sensor (Garmin LiDAR Lite V3hp) to give greater precision and accuracy.
The project needs to be completed by the end of May 2025 – no pressure!
Origins
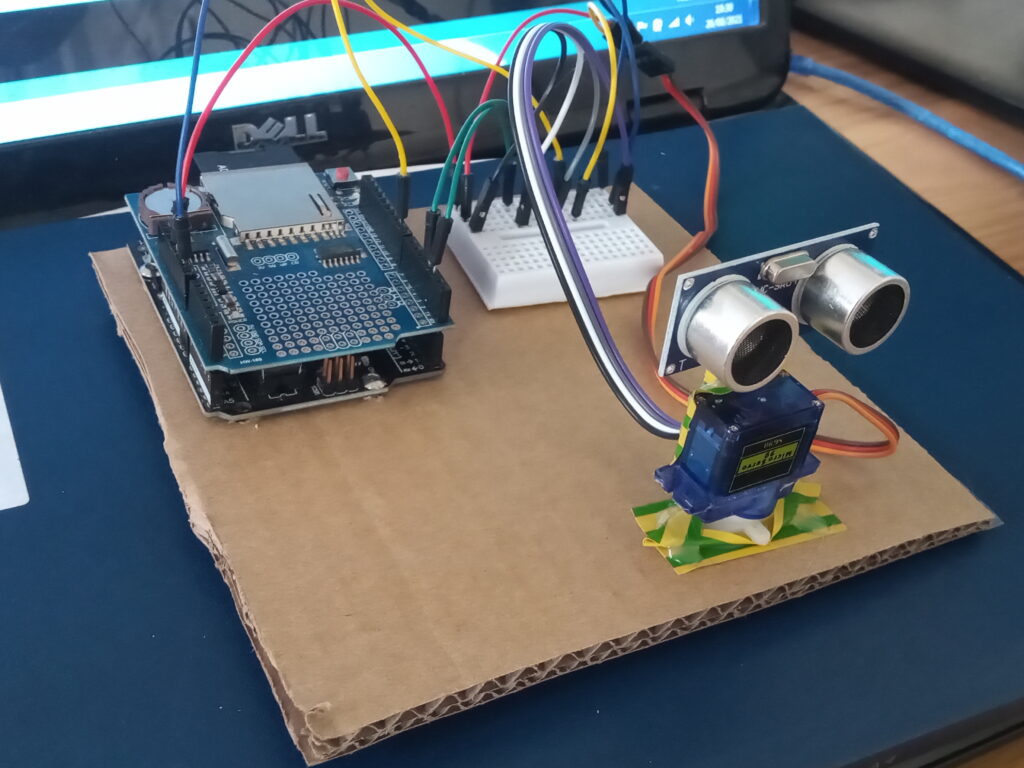
This project began in August 2021 out of sheer curiosity: can you scan your surroundings using an Arduino, bog standard HC-SR04 ultrasonic sensor (<£2) and SG90 servo (<£3)?
The initial test rig was constructed from cardboard (as always) and produced an .xyz file with 90 points. This was then exported to a CAD program to view.
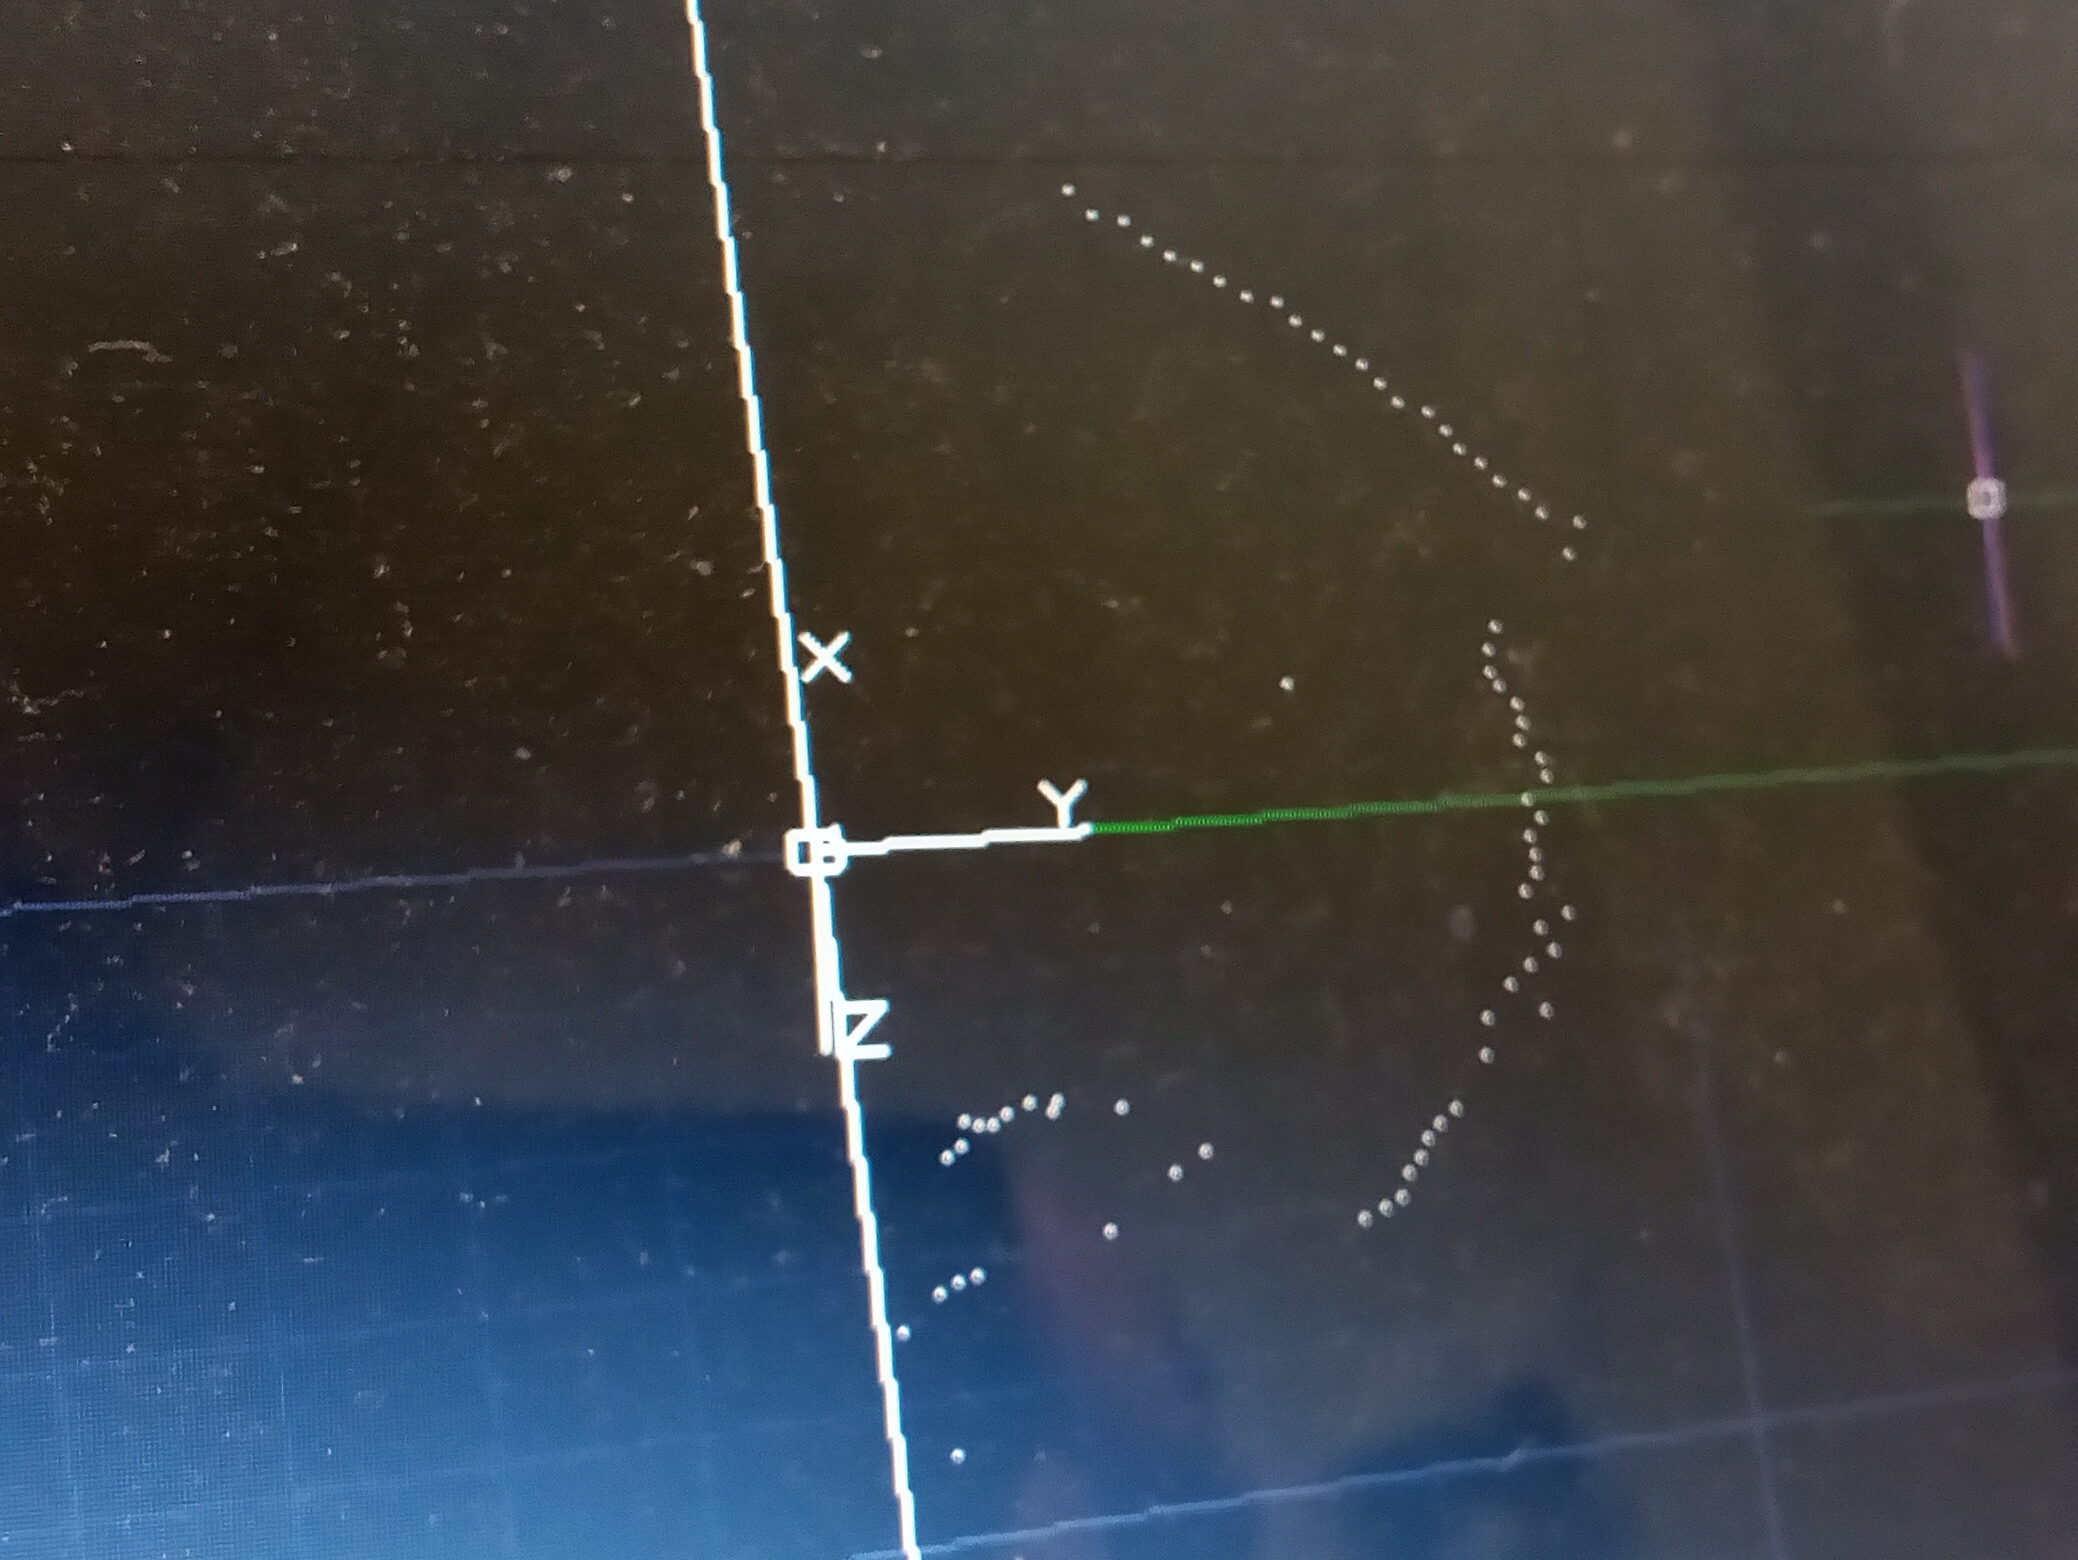
While the results might look underwhelming, I could see the potential – the sensor was detecting objects and the maths and mechanics were aligning. It was effectively a very basic SONAR system.
This was all the encouragement needed to progress the project further. All there was to do was increase the coverage area in 2D and 3D while increasing accuracy.
Over the following days/weeks, the following works were done:
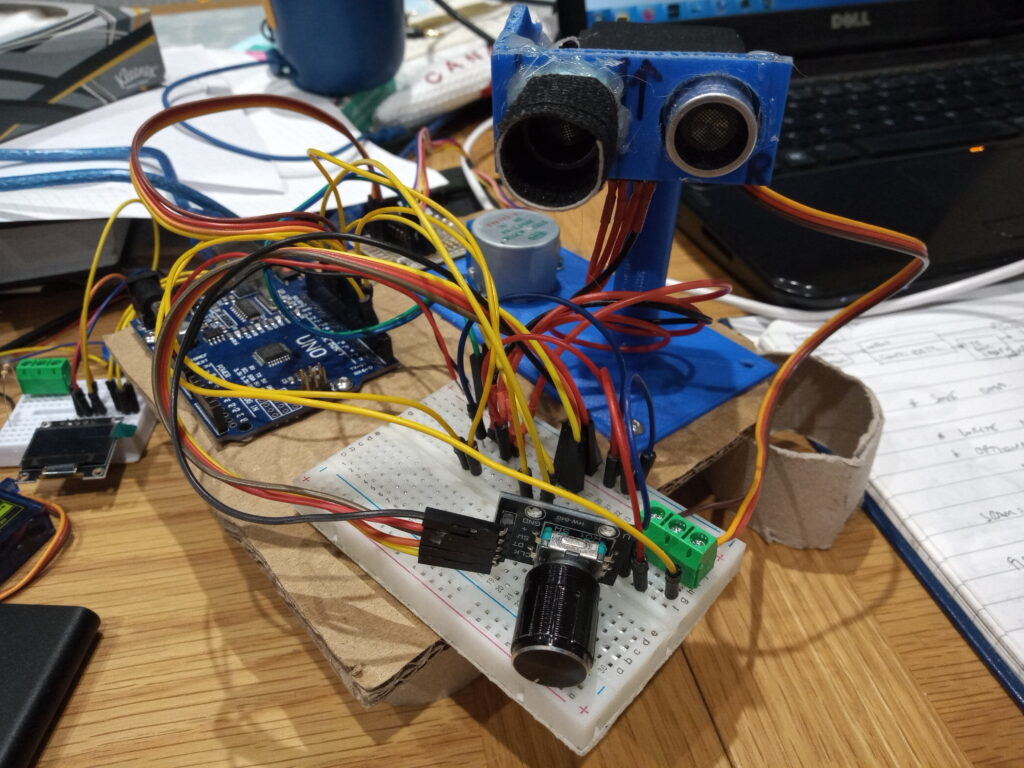
- Full 360 degree rotation was added with a 28BYJ-48 stepper motor and ULN2003 driver. (<£4)
- An MG996R servo was implement to add pitch control and add a 3rd dimension. (<£8)
- In order to increase accuracy and narrow the beam, a fuzzy cone was added to the ultrasonic sensor (to give a bit of a Clockwork Orange vibe, if nothing else).
- A rotary encoder provided a very basic user interface to prevent wires from becoming tangled during the scan.
After all of the above changes were completed, the contraption was put on a test scan and the following point cloud was produced.
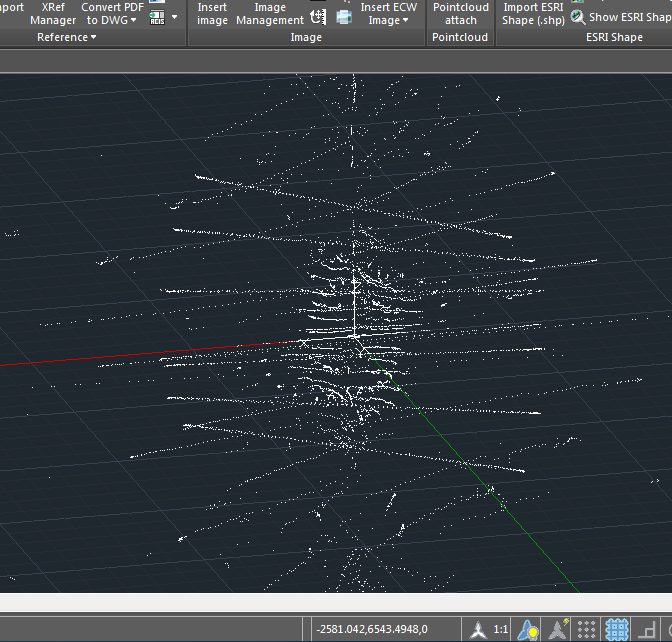
Garbage. So after some debugging, testing, more fettling, testing again, debugging and adjusting and finally testing again, the following scan was was produced:
At this point, it became apparent that there were two factors which were limiting the accuracy of the scans: the sensor simply wasn’t precise enough and neither was the rotational control.
A new sensor was purchased: the Benewake TF-Luna offering a beam width of 2 degrees (x 7.5 times more precise than the HC-SR04)
In addition to this, the rotational control was handed over to a NEMA 17 stepper motor and A4988 driver.
The servo angle was also increased to 135 degrees, thus giving a theoretical maximum resolution of 432,000 points.
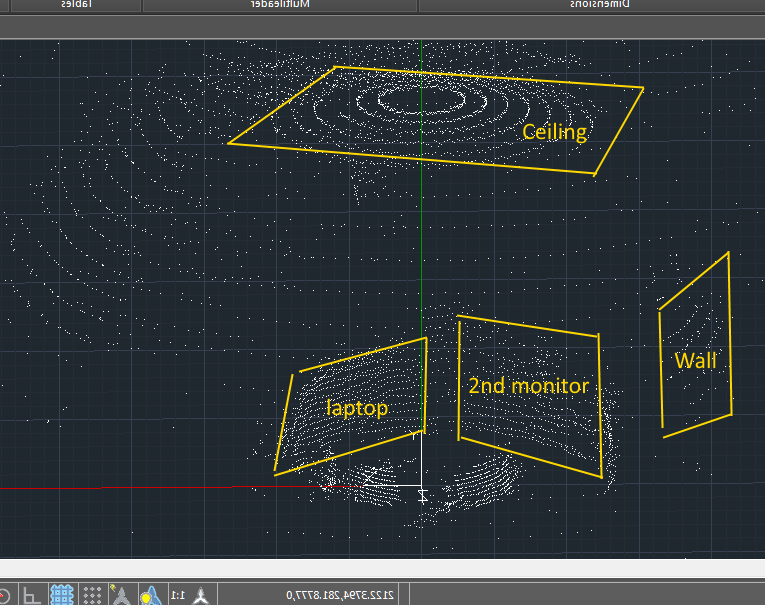
This project had grown from a sheer curiosity with some cheap components to now producing three dimensional scans of rooms using a £40 LiDAR sensor. I was impressed with the results
What Next?
Version 2 is being constructed as of 16th March 2025, the base is constructed and rotating.
Last updated: 16/03/2025